It really isn't perfect, and I think it was my over confidence in my ability to have that scant 1/4" nailed. I hadn't and it wasn't evident until I was joining the two differently sized blocks together. In spite of that, I love my quilt, it's also a marker of my progress in quilt making. This will be the one I turn back to to say, I've gotten so much better now. Without further ado, here she is....

To be clear, I don't film in the guest bedroom, I just needed to park my lights in there ;)
This is quilt number 4 for me. It is 1,332 pieces, but most complex because of the 360 set in seams.
The center blocks are 4 pieces, the larger blocks are 5. The large blocks are the ones with the set in solid piece.
Many firsts for me on this quilt, it is the first hand quilted quilt, and the first time using the quilt frame purchased 5 years ago. I wasn't sure what to expect, but thought there would be many benefits to having it on the frame. There were to a degree, it was neatly on the roll, it freed up both my hands to work on the quilt. It was not the easiest on my fingers, so it's a work in progress. My stitches started pretty well, then somewhere in my stitching I went to a prick stitch. This resulted in longer stitches on the backside, but I have another solution for that down the road.

The first time I loaded it on the rollers, I placed undue pressure on the backing and batting, which shifted the top. When I realized what had happened, I had to take it off the roller and tear out a weeks worth of stitches. A friend suggested I block the quilt top before sandwiching, basting and loading back on the rollers.
Here, I've sprayed it with water and blocked to the carpet with t pins. That worked out really well.
Here is the set up. (this was before it was reassembled... sigh)
So... after many days.... we finally get to the binding part. I pop it onto the queen bed, and it's a bit short. Argh! When the fabric was purchased, it was based on another size of queen bed, the last one was not as tall the current one. Lesson learned. Measure your bed before getting too far into the project. I took advantage of the extra batting around the quilt, and ran another 2 1/2" strip around the border.
For the corners a solid piece of shot, just to keep things uniform.
I think some quilt blocks are easier to add to, if one more row of large blocks were added, it would make the quilt asymmetrical. If two large blocks were added, it would make it too long, so this was the compromise.
Lessons learned on this quilt...
1. Measure the bed you intend to place it on before deciding on a design.
2. Take your time
3. I like hand quilting :)
4. I'm not bad at set in seams
5. I enjoy using the industrial machine to piece my quilts
Close ups - Front
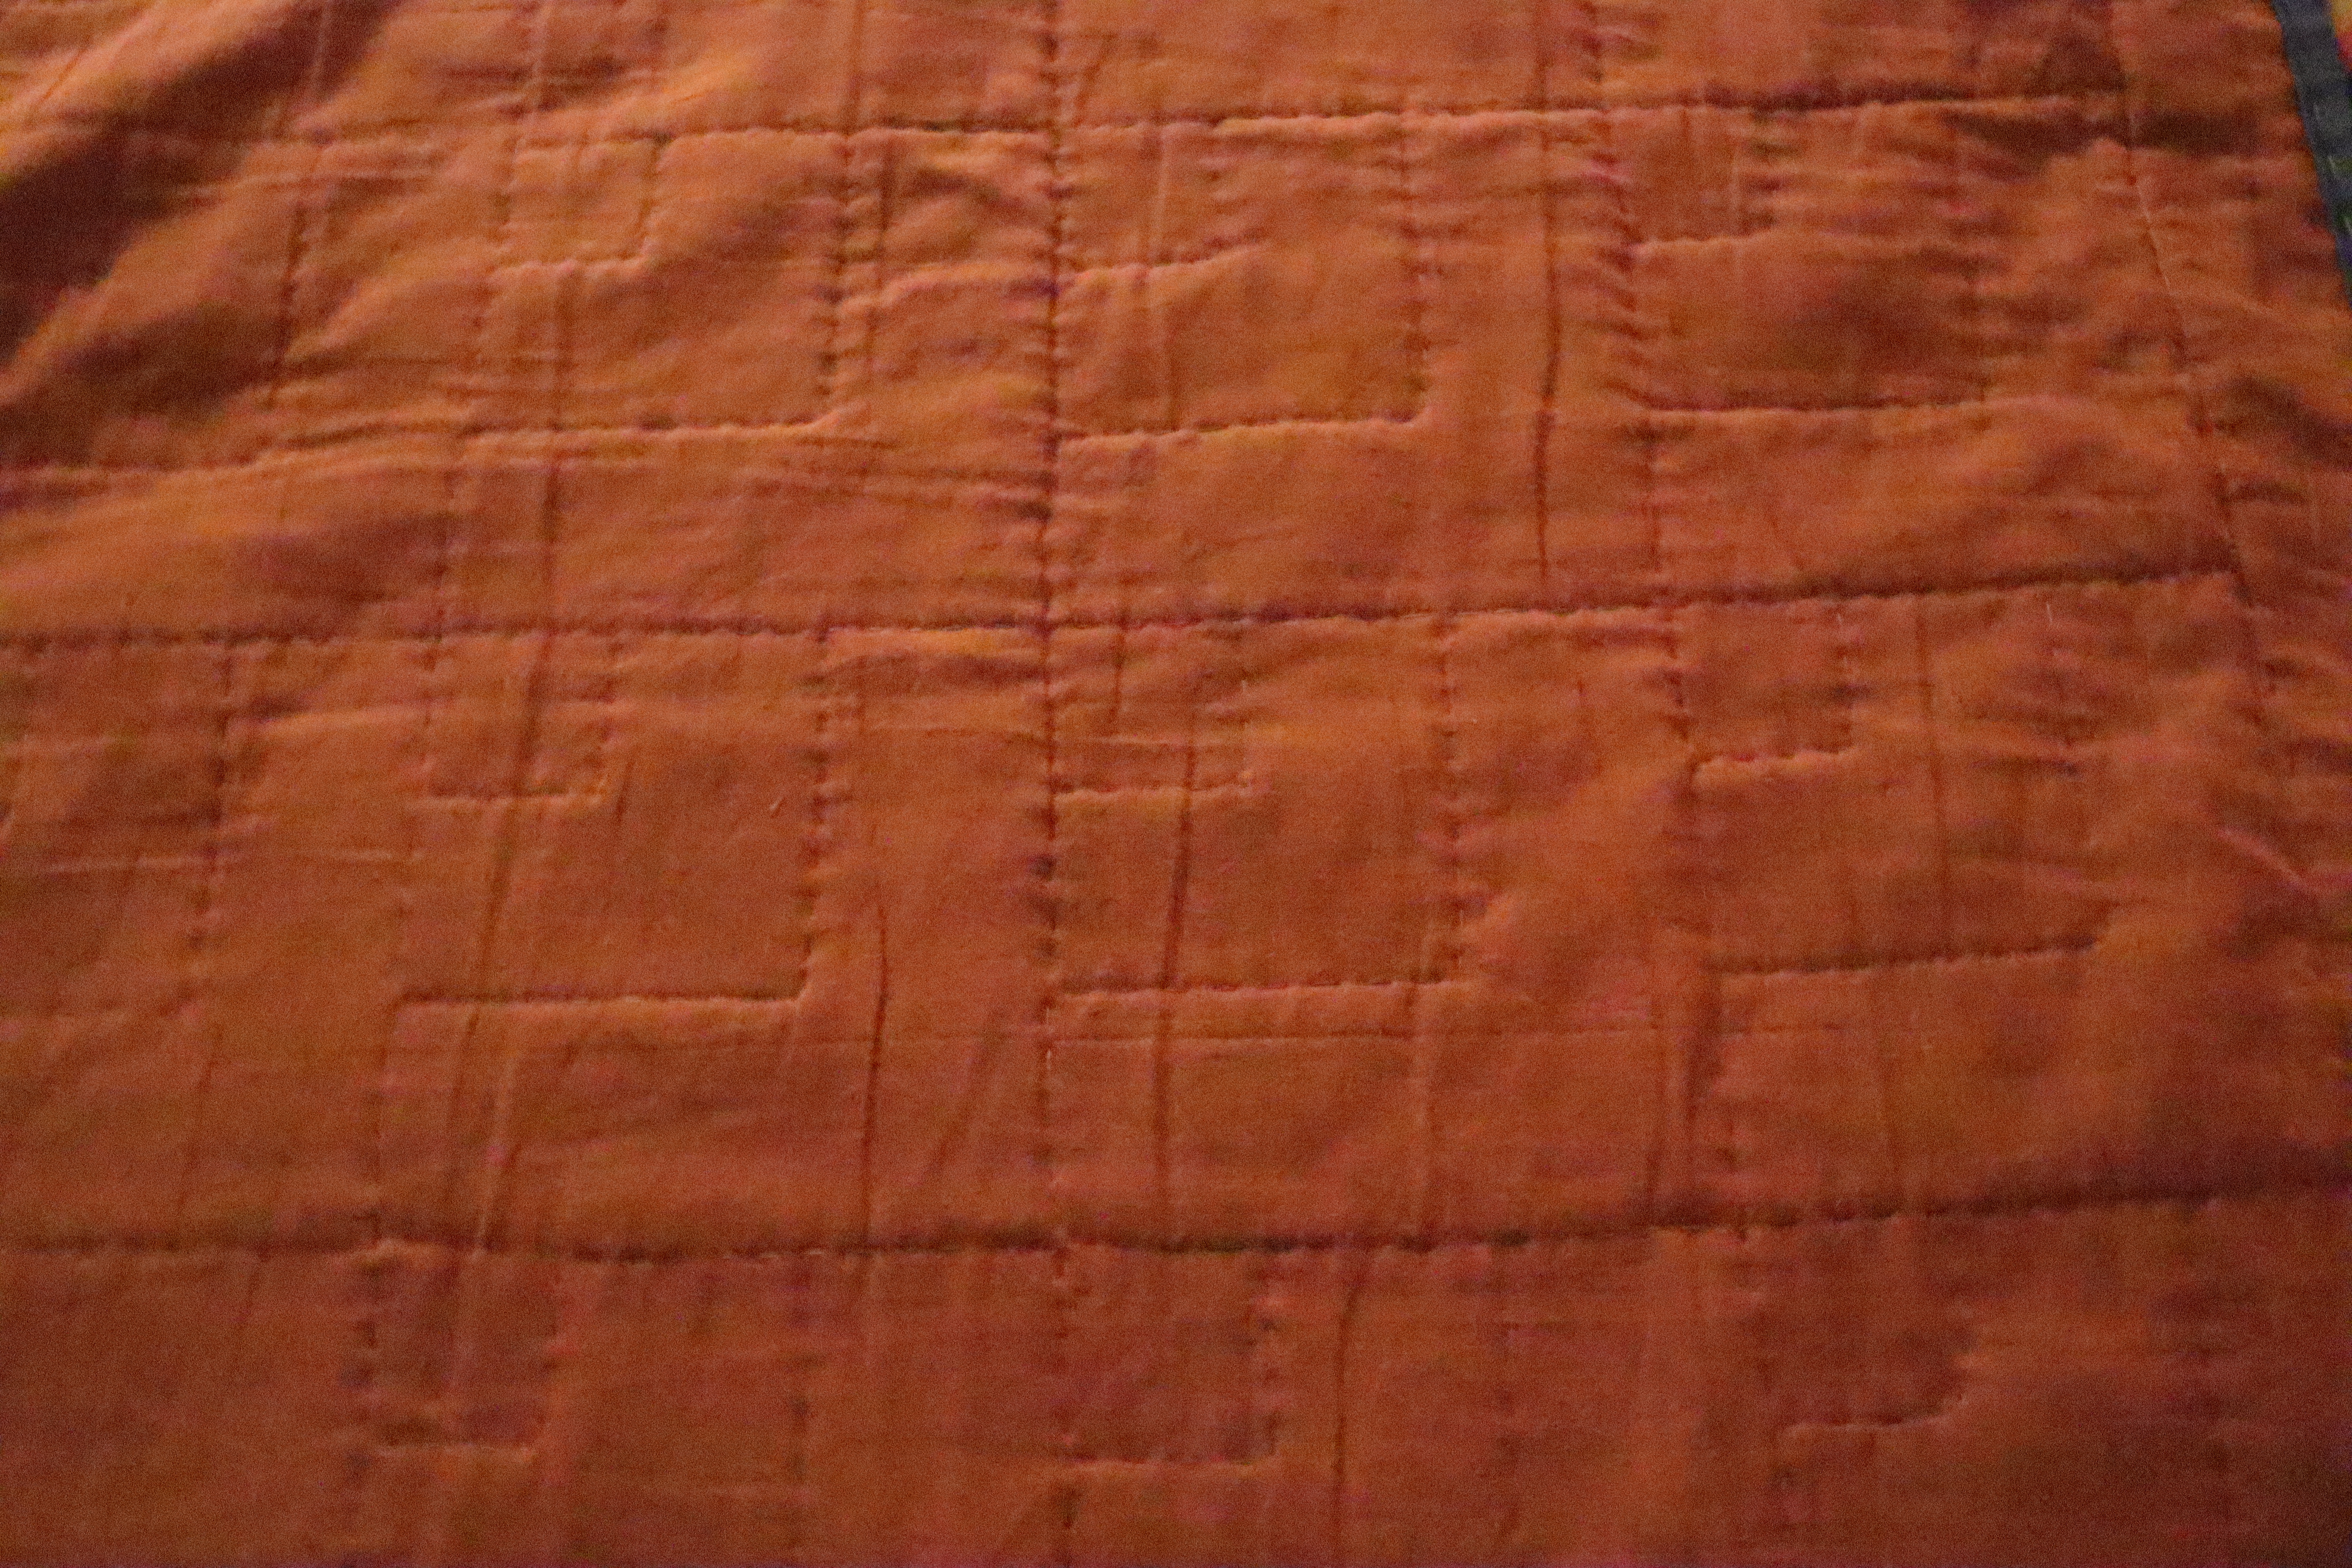
Back
Piping (ignore the basting stitches)
I never made the bathing suit in the last post, never made it to the beach, but have made progress on sewing up some stash. More to come....


Comments