Embroidery on a Vintage Machine - just a blip of a post.
Where were we before Thanksgiving? Ah yes, embroidering on a vintage singer.
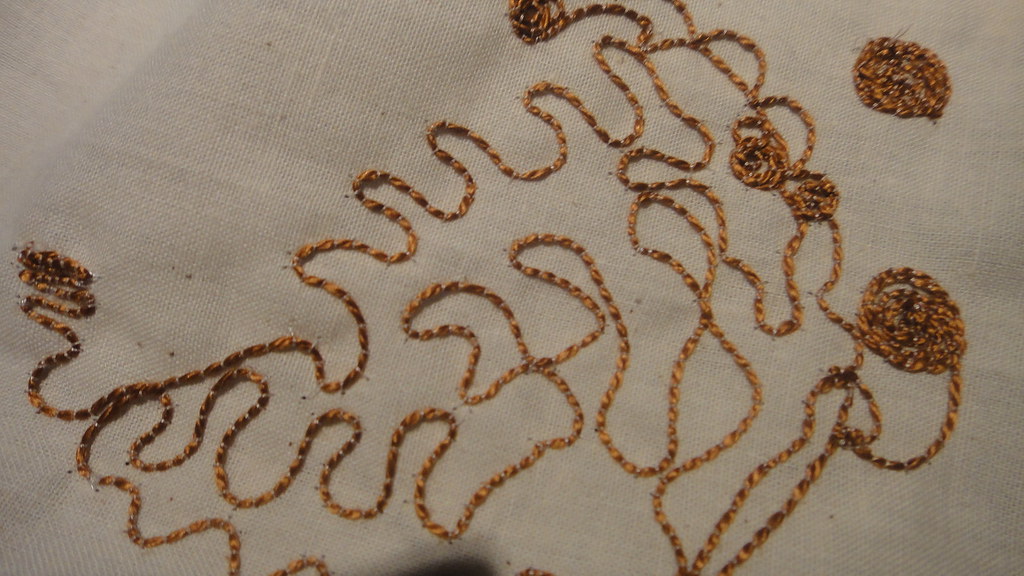
Here is the Pearl embroidery floss in the bobbin, and some polyester quilting thread on the top. I like this better than the metallic thread, it has a nice sheen and thickness to it, and it doesn't make the fabric stiff, like the metallic floss. This was also done with a hoop, and no stabilizer. There is a lot of potential with this, I like the circular pattern, you just have to remember to start in the center and work your way out. The biggest issue with this is that since the embroidery thread is in the bobbin, you don't see the design form until you flip it over. You are sewing blind. I was unsure how dense the stitching around the circle pattern was, not sure it I was leaving gaps of ground, but they look pretty good.
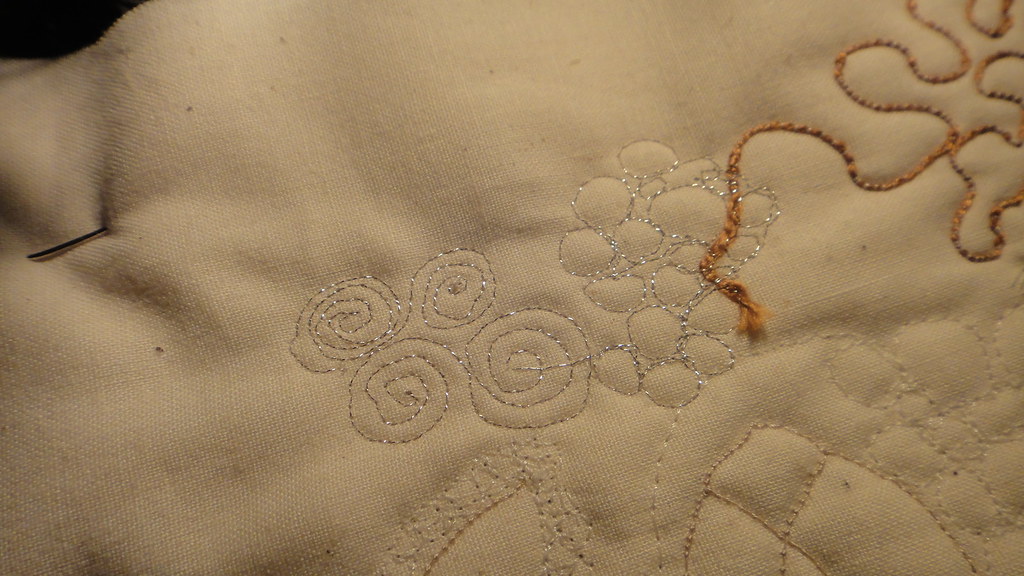
The top thread did not like the sharp corners, as you can see them straining a bit. Looks like a tension issue, but that can be fixed, you see what I mean about stitching blind? I had no idea this was happening on the underside of the fabric, all of the stitches looked fine from the back. I'm also going to have to work out a system for the way the thread is started because it leaves a tail. The Singer book doesn't address this at all, so there are more samples in my future.
Here is the Pearl embroidery floss in the bobbin, and some polyester quilting thread on the top. I like this better than the metallic thread, it has a nice sheen and thickness to it, and it doesn't make the fabric stiff, like the metallic floss. This was also done with a hoop, and no stabilizer. There is a lot of potential with this, I like the circular pattern, you just have to remember to start in the center and work your way out. The biggest issue with this is that since the embroidery thread is in the bobbin, you don't see the design form until you flip it over. You are sewing blind. I was unsure how dense the stitching around the circle pattern was, not sure it I was leaving gaps of ground, but they look pretty good.
The top thread did not like the sharp corners, as you can see them straining a bit. Looks like a tension issue, but that can be fixed, you see what I mean about stitching blind? I had no idea this was happening on the underside of the fabric, all of the stitches looked fine from the back. I'm also going to have to work out a system for the way the thread is started because it leaves a tail. The Singer book doesn't address this at all, so there are more samples in my future.


Comments