Saturday, January 19, 2013

UFO's that tell a story....

Another year, and my January resolution.... to swap my current "stuff" for more productive "stuff".  
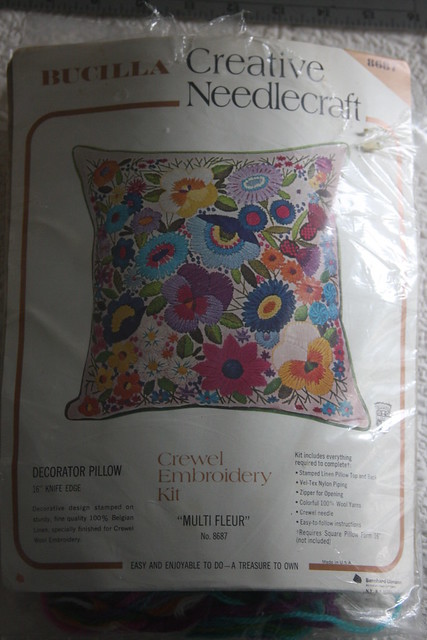
I open one of several needlework supply boxes and find this.


IMG_7035

It was my mother's, 
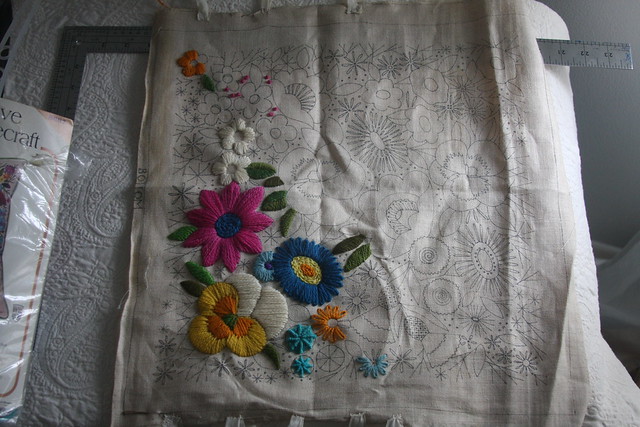
she had even started working on it.
IMG_7036


I'm sure life got in the way, so I decide that I will finish what she started. The next thing I spot is this...

IMG_7037 

Now that's what I'm talking about, these are clearly written instructions for all of the embroidery stitches. There is no need to rely on the user's knowledge or a nudge to another book. I am impressed. 


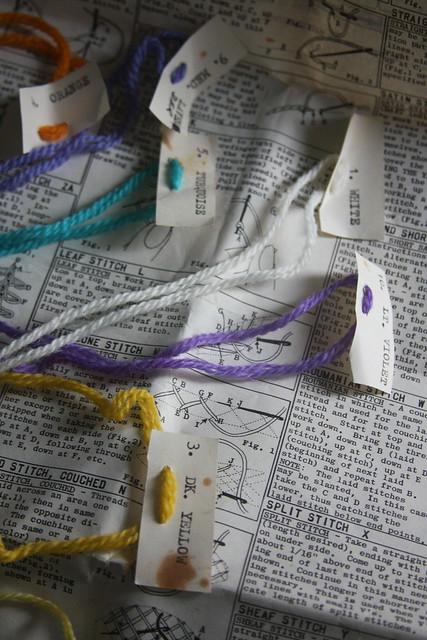
 Then I find this.
IMG_7039

Mom didn't type, so this looks like the work of my father. I picture him coming over and asking what she is working on, and her sorting through the yarns. She probably said it was going to be very complicated to keep these colors organized, and I picture them working together. He probably went to his typewriter and left her a piece of paper with all of the numbers on them for her. She opened the holes and threaded the yarns through each of their name tags.

 I love this story in my head, because 

 1) It reminds me of my parents as a loving couple working together 
 2) It's an idea so simple, yet so effective

So even though my initial intention was to get rid of it, sell it on ebay, this story makes it impossible.
We'll see if I can finish it before her birthday on February 11.


Friday, January 18, 2013

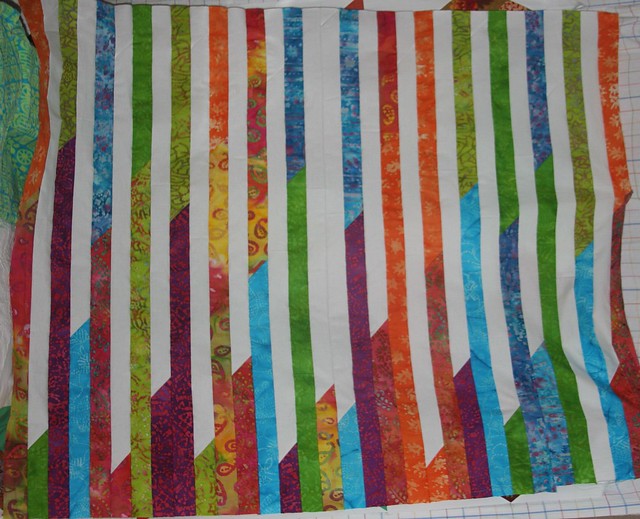
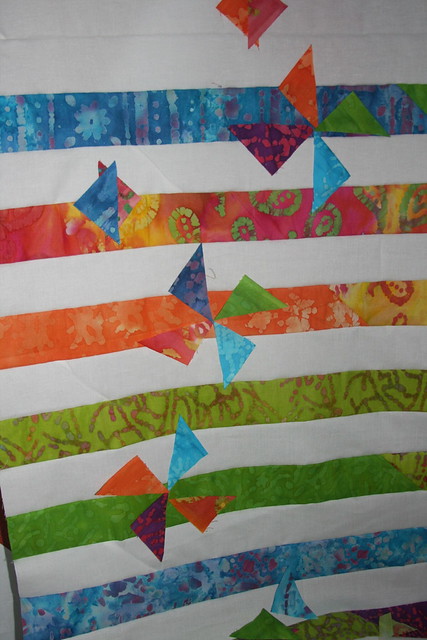
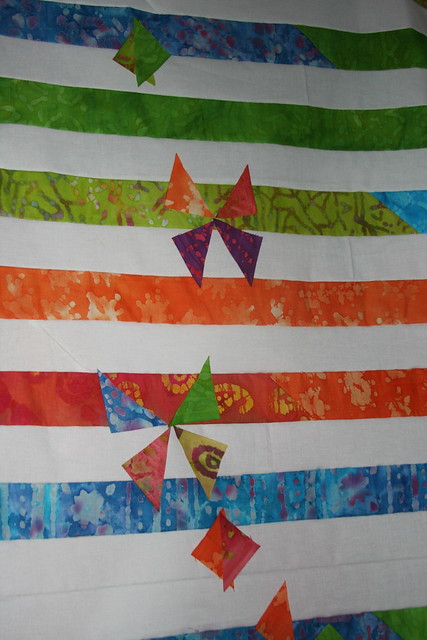
Playing with the Jellyroll quilt top

It needs something, it's a little unbalanced......


IMG_6867


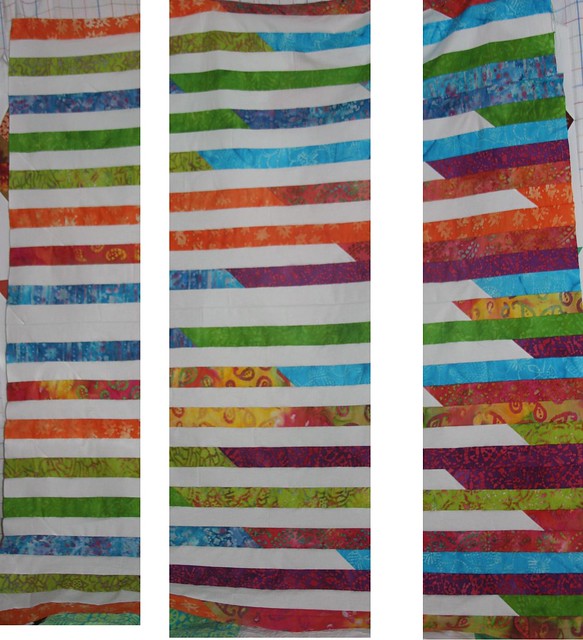
Could chop it up....


Jelly roll play

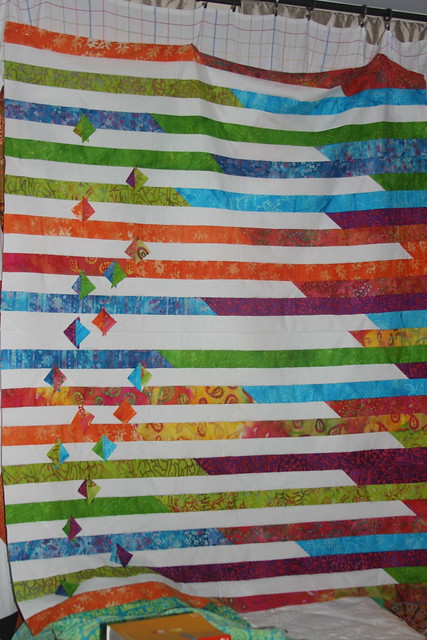
Could bring the triangles from those 45 degree angles back in....


IMG_6903

Or maybe pinwheels....


IMG_6911

Or butterflies.....or bows?


IMG_6909


So here's what I learned.....

I am driven to distraction at the grainlines on the strips, very few of them are on grain.
Pinked edges are not for me.

I am not as fast as the quilters who do this in under an hour, and definitely not the one who finished in 35 minutes (although, I'd like to see her seam allowances).

If I worked in a factory I'd starve to death.

Wednesday, January 16, 2013

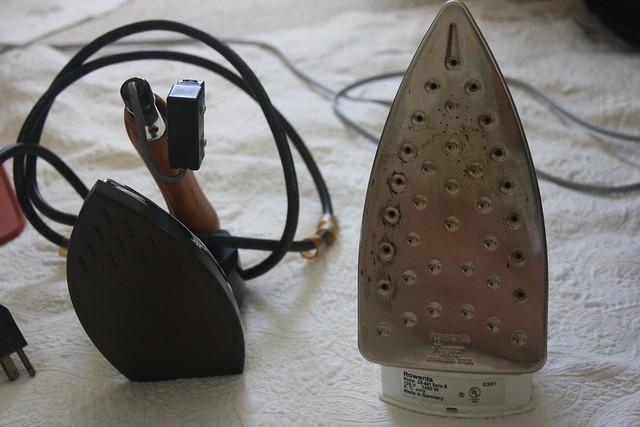
What's so Great about those Commercial Gravity Feed Irons? Naomoto


IMG_6785
*** Please disregard the Rowenta needing a cleaning.


Positive
+  They put out magnificent steam

+ They reach high temperatures, which I found best for stubborn cottons

+ With the reservoir you aren't constantly stopping and filling up, so there is opportunity for uninterrupted pressing.

+ / -They have a narrow sole (8" x 4" vs 9" x 4 3/4" on the Rowenta), which makes getting into tight areas easy

+ Programmable to exact temperature settings

+ They are made to last

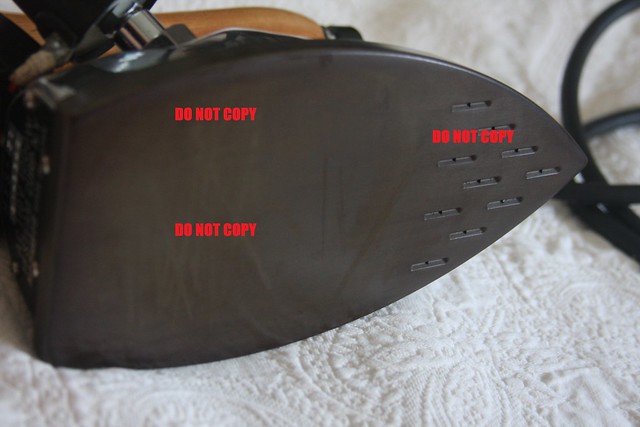
+ The steam holes are concentrated at the tip
   This allows you to hit an area with steam and use the back of the plate to dry it.

+ Less time ironing, because one pass is enough


Negatives
- They are expensive, the current Naomoto NY-58 is at least $500.00 (if you can find them)

- They weigh 6 lbs (good and bad), even though you'll find you'll need less time to iron, you will be lifting a heavier weight (than a home iron by about 2lbs).

- / +The sole plate is smaller, so you will only be able to iron small areas

- They may not completely die on you but you may find yourself "maintaining" them.
   The thermostat has been replaced twice on this unit, and there are other parts that can go bad as well.

- They are costly to repair (at least in this area, unless you are handy with electronics.....)

- Original parts are becoming more difficult to find online

- You will need  to buy a new filter on occasion (some of mine have lasted 2 -3 years
   (it is based on use and water quality, and will run you $30 a pop)

- Space -You need a dedicated area to place the tank and attached iron when you aren't using it.
    You can't store it on it's side when full.

- You may need additional insulation for the handle
   This model's handle gets HOT, not sure if it's a problem with the thermostat or if it's just like that.
   Later models have insulated handles which apparently don't have this issue.

- You may need additional insulation for beneath the Ironing pad
   Some users place the pad on a ceramic base or wood base to keep the iron lifted, they have reported that
   the silicone pad (which has a metal component), gets hot as well.  I've never found that to be the case with
   mine being vintage it might have been made a little better, maybe the silicone on my pad is thicker.

- You can not rest the iron on it's back, so you will need an area to keep it on it's pad taking up valuable
   ironing space

The biggest downside for me is that it is getting more difficult to find parts, and it is expensive to repair, and the handle on this model gets so hot, it's difficult to use.  I'm not sure what is happening with the brand, but it looks to me as if they are either no longer manufacturing, or no longer importing the Naomoto irons.  So why do people buy them?

They really are that good and the higher temperatures and steam means you can knock out practically any wrinkle you meet.  Once you learn how to use it properly it gives you professional results.  Of course this isn't the only option, there are other industrial irons on the market... like the Consew....
Saturday, January 12, 2013

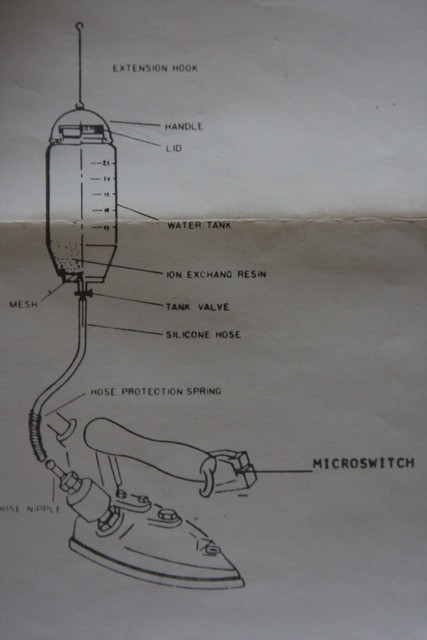
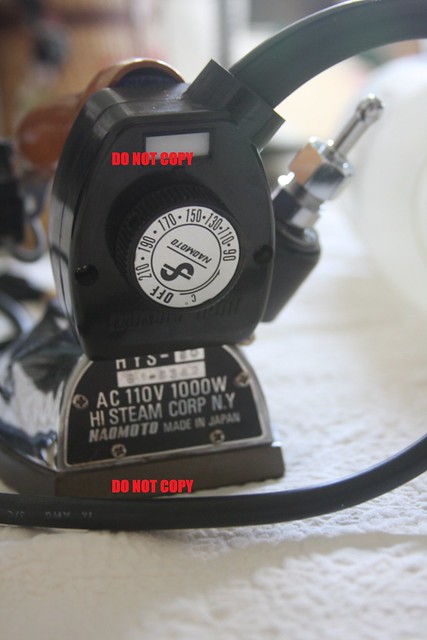
The Naomoto Cadillac of Irons HY-50 HY-58 Instructions for set up

This iron was meant for commercial use, so I thought it might be fun to show you what all the fuss is about.
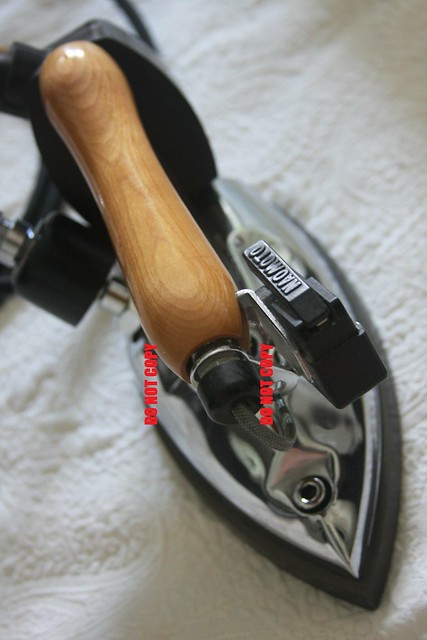
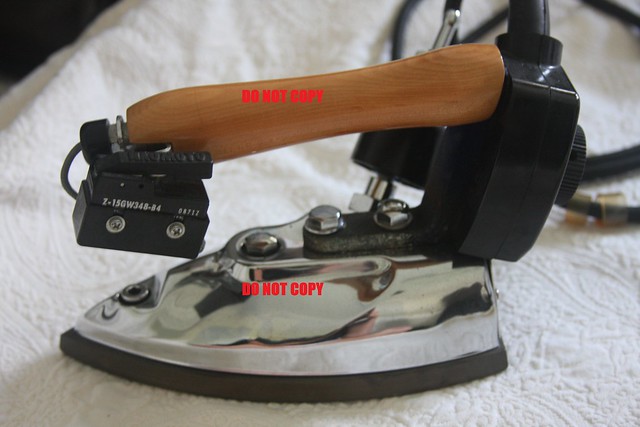
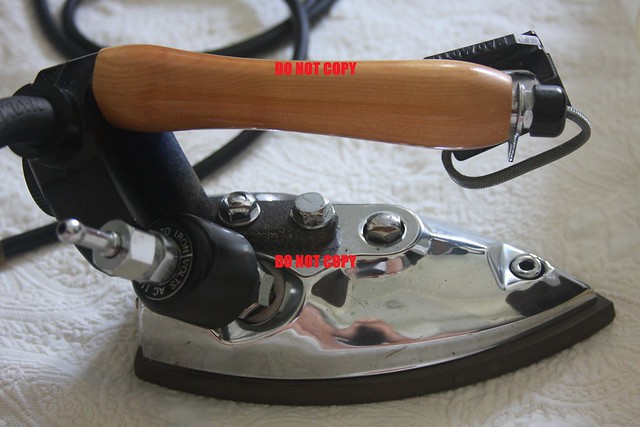
This is a vintage Naomoto, it is at least 30 years old.  It still looks like it did when we first unpacked it.  It required a little TLC along the way, but not a lot.  There is a debate in the sewing community about these irons, as to what is better.  Hands down this is better than most of the home irons available on the market but it does have it's drawbacks (discussed in the next post), but first let's show you how pretty it is what it is and what it comes with.
IMG_6753 - Copy

Something a little different this year..... you'll notice the "Do not copy" stamps across these pics.  I've spent some time on ebay this month, and have found that there are a ton of fraudulent postings appearing in the sewing machine section.  The badies are copying online photos and other ebay listings and using them as their own, to sucker some poor unsuspecting victim into sending them cash.  So if you see a suspicious listing, Google the name of the item and check Images under the Google tab.  If you see my images you'll know they are mine because of the stamp.  Report the listing to ebay.


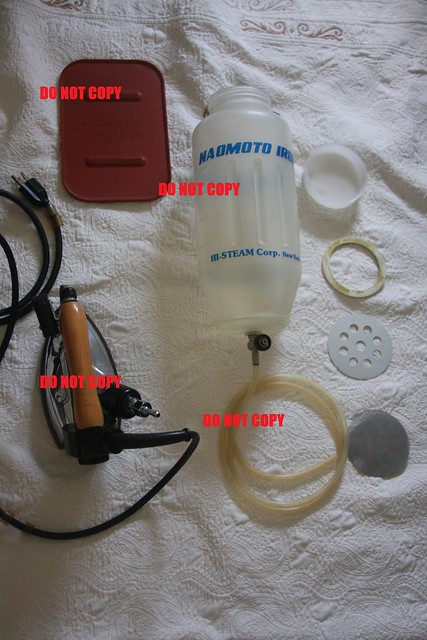
Here is everything that came with the iron (missing is the resin filter).

IMG_6762 - Copy

IMG_6770 - Copy

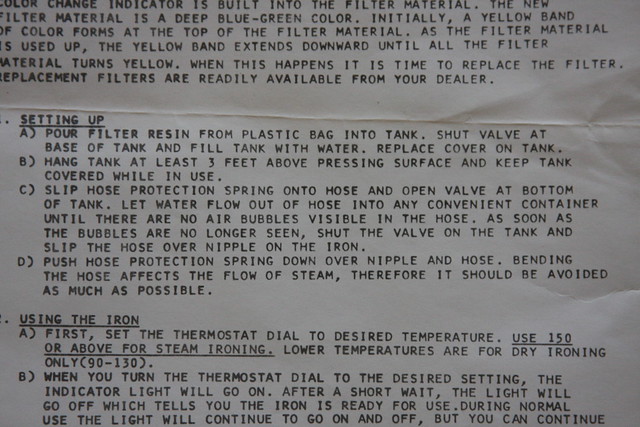
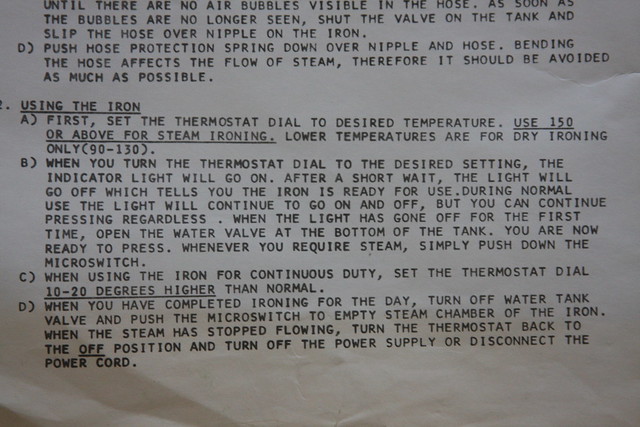
The instructions


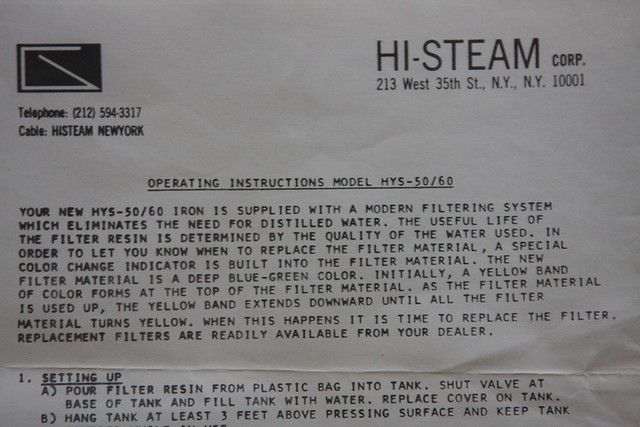
The filter information

Page 1 instructions a - Copy

Poorly written instructions....
Because we aren't commercial operations, make sure you have a place to hang your tank, which will weigh as much as a gallon of water.  A hook on a wall (fastened to a stud), some people use IV rolling stands, I used to slip it over a hanger and clip it on a wire closet shelf (not the best layout), later I clipped it onto my rolling steam machine.

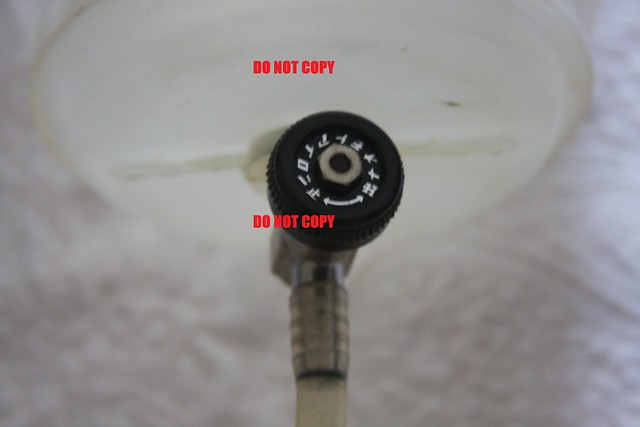
Shut valve should be second, on my unit it was right - closed, left - open (or righty tighty and lefty loosey).
IMG_6764 - Copy

Make sure that before you "Pour your filter resin from plastic bag" You have your mesh installed properly.
Page 1 instuctions b - Copy

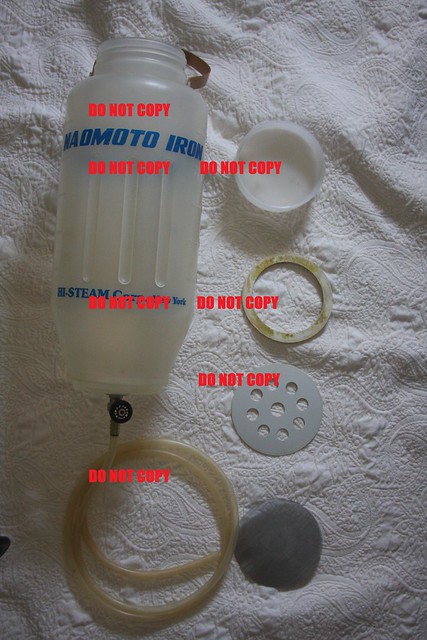
The tank
On the left - the tank and attached valve (which opens and closes)
The silicone hose

On the right from top to bottom
The screw on tank lid
Gasket 
Filter 1
Mesh

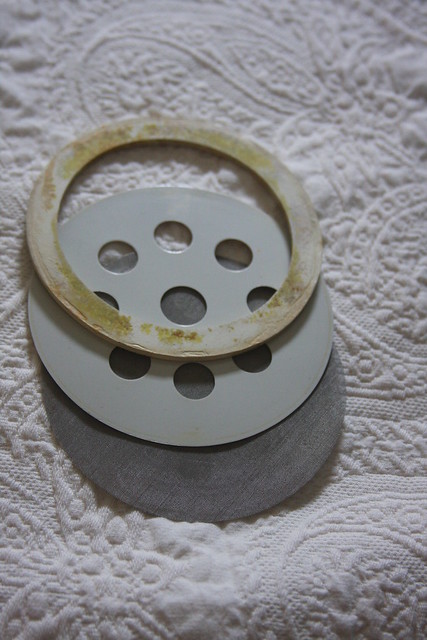
IMG_6761 - Copy

Install the Gasket, filter and mesh in this order
The mesh on the bottom, the filter on top and the gasket to hold all of it tight at the bottom of the tank.
Then you can pour your resin it.

When you pour your water in, be very careful and do it slowly.
If you dump it in quickly, you run the risk of dislodging the filter and the resin will makes it's way down the hose and eventually into the iron, which you don't want to do.

IMG_6763 - Copy

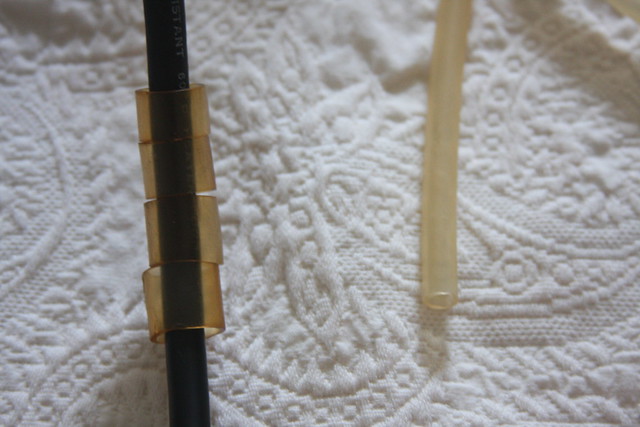
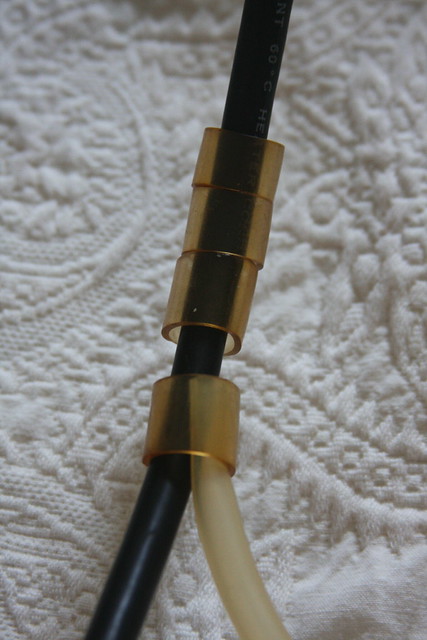
Before slipping the silicone tube over the nipple, you might want to slip it under the tubing on the electrical cord, if yours comes with this.

IMG_6768 - Copy

It keeps the water supply and cord together, so you're not dealing with two cords flopping around you as you iron.
IMG_6769 - Copy


I don't think we received a wire nipple, or it was lost, but I just slipped the silicone hose over the nipple and it worked just fine.
IMG_6767 - Copy


Page 1 instructions c - Copy
On to the iron.


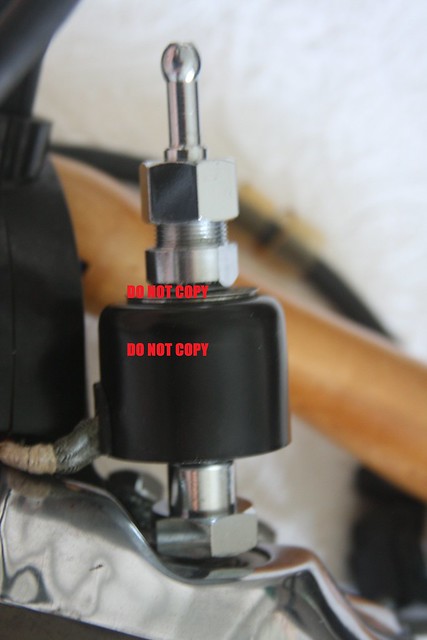
IMG_6754 - Copy

IMG_6755 - Copy


For Steam 150 degrees or higher.
Wait until the indicator light turns off, which signals it has reached temperature.


If you are impatient, you will end up with a bubbling leaking mess, and we want to avoid that.
If you set it for less than 150 degrees and hit the button, you will also get water instead of steam.
IMG_6756 - Copy


IMG_6766 - Copy 

So it's a lot of work, what's so great about it?

Sunday, January 6, 2013

Everybody ready for Downton Abbey?

Season 3 is Airing tonight on PBS.


If you miss it, I believe you'll be able to watch it on the PBS website.

I'm getting out my silver plated platter, set up with an herbal tea and a fine china tea cup and dessert plate.  I managed to get to the french bakery to get a few pastries, so I'll be sitting on the couch in my vintage silk taffeta robe, silk bias nightgown and thick socks .... (because I don't have maribou slippers) completely lost in the finery.

Don't miss it!!

Saturday, January 5, 2013

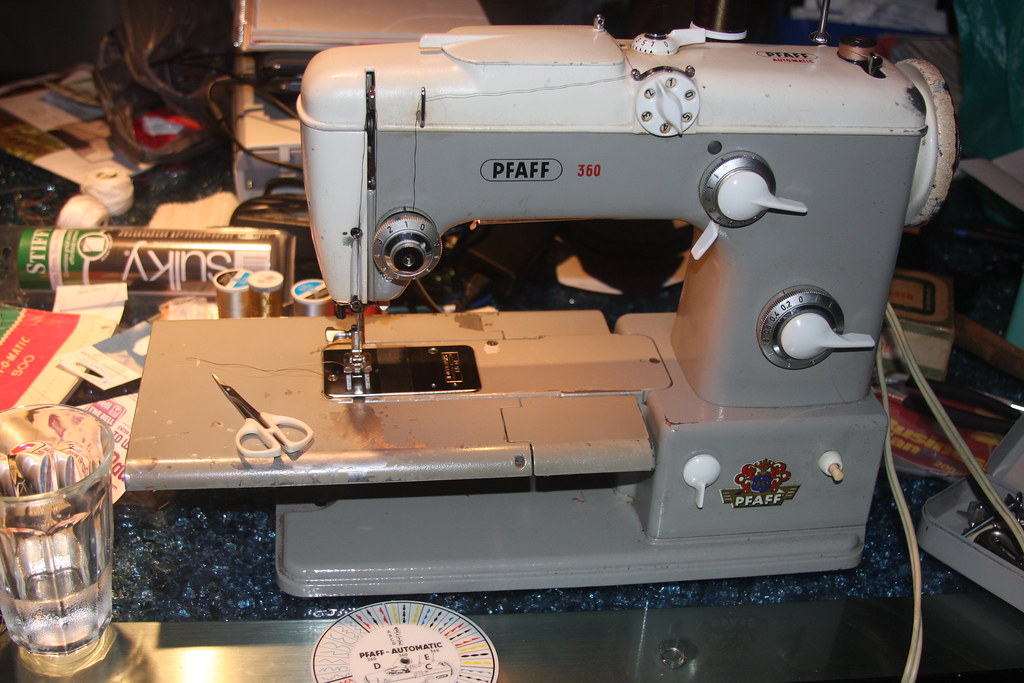
Monogramming on Pfaff 360

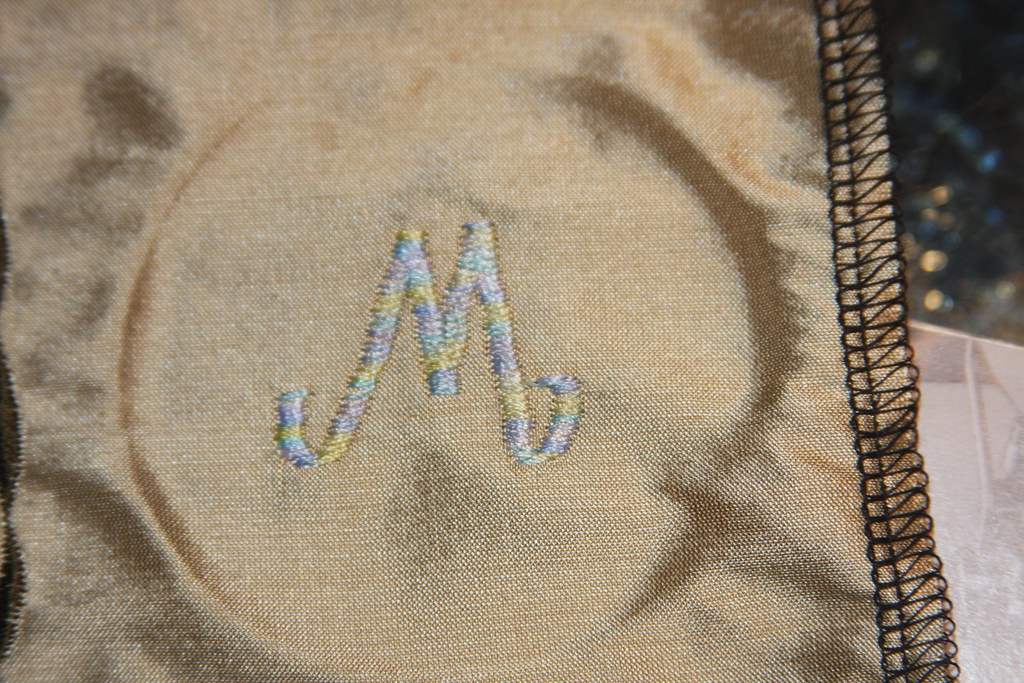
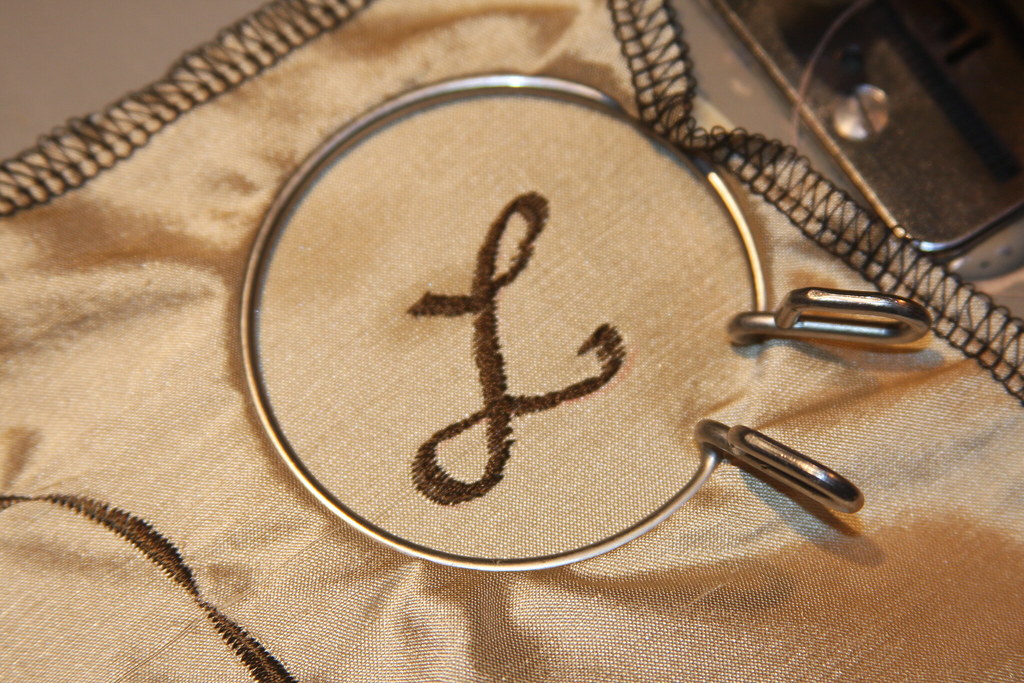
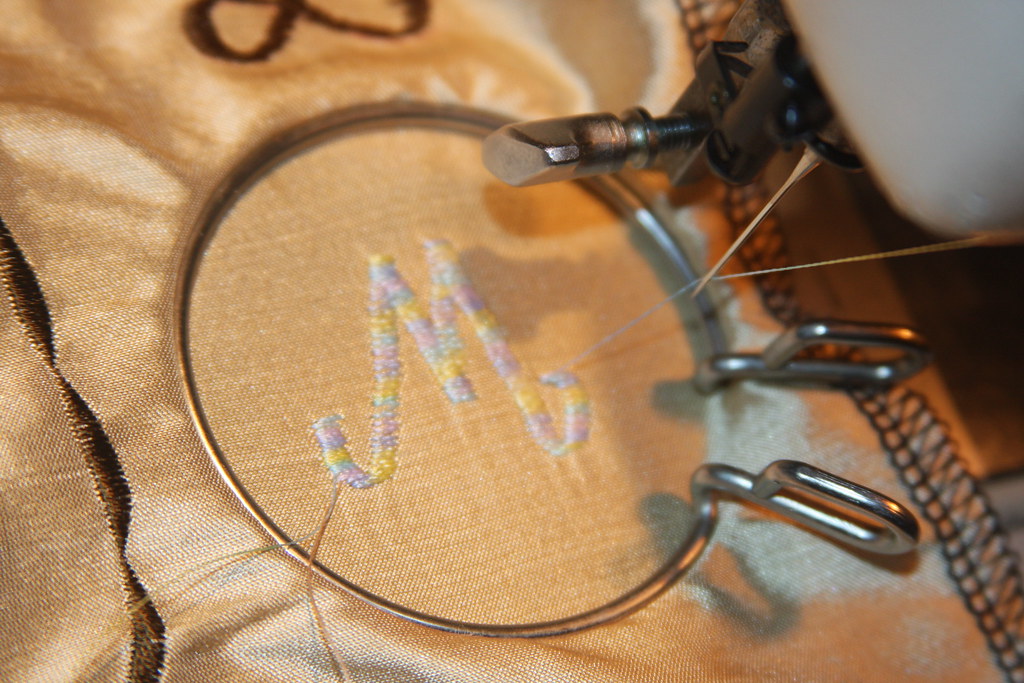
For some of you this won't be exciting but it is for me!!  I never thought you could get a decent monogram on one of these machines.  I need some practice but that I got this far is pretty amazing to me.


tada M


This is my first attempt....
tada L

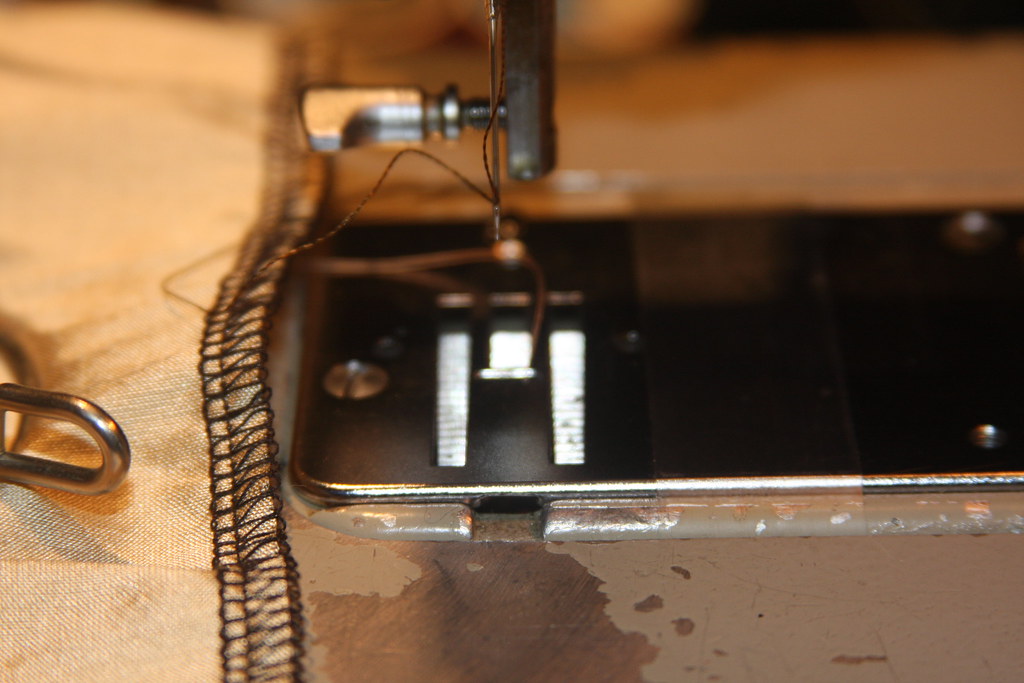
The feed dogs have been dropped, and there is no foot on this puppy, I thought it would be a disaster.

drop feed dogs

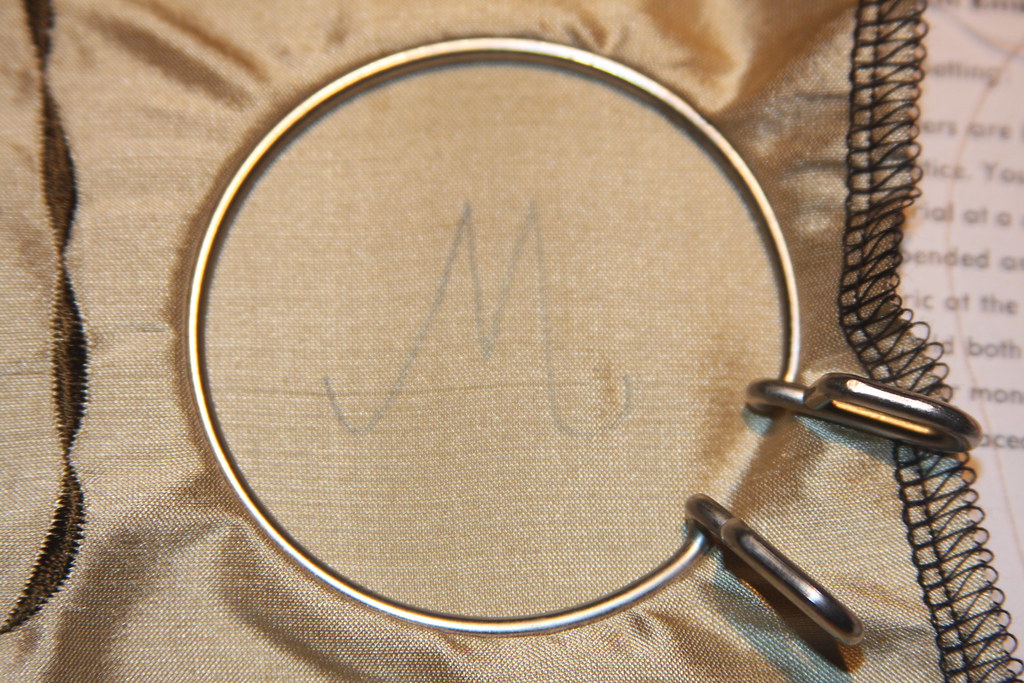
Draw a letter

draw letter
Start

Yikes start

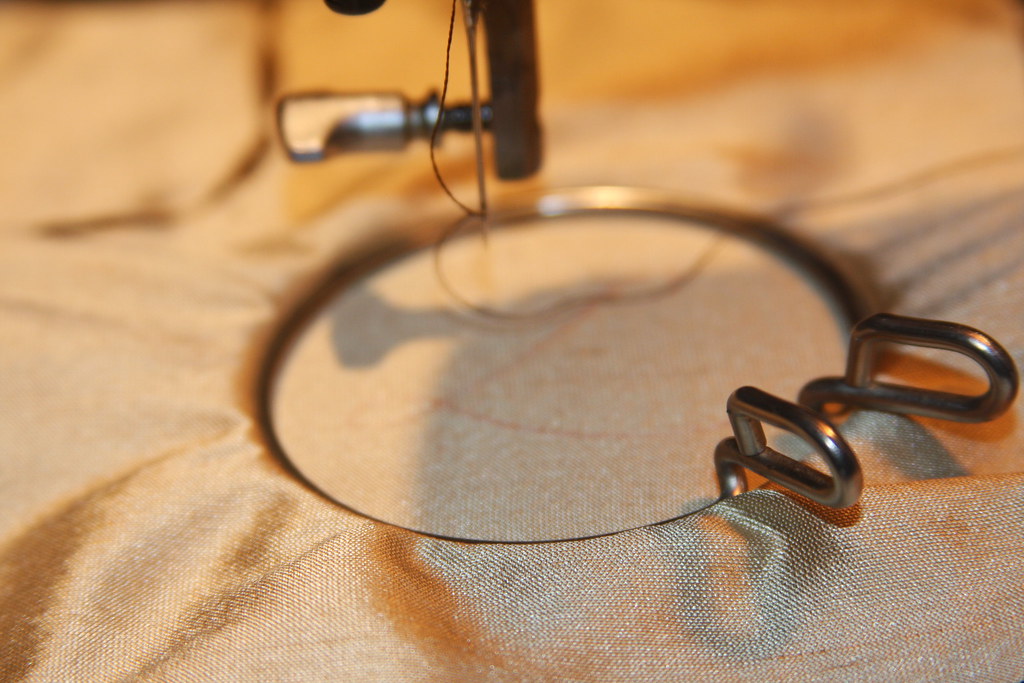
Guide the hoop

guide the hoop
OMG

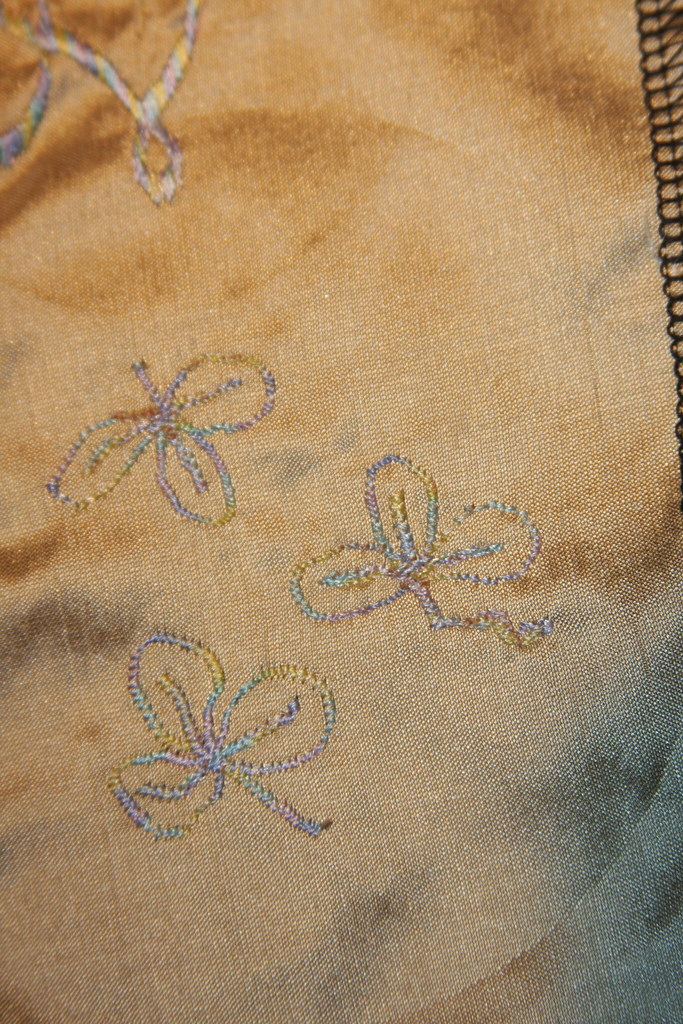
What else can we do? Shamrocks!!
Ok, I need to work on those but how cute are they?
Tada flowers

Why didn't I try this sooner?  I guess my machine manual wasn't joking, you can actually do a little embroidery with this machine.

Friday, January 4, 2013

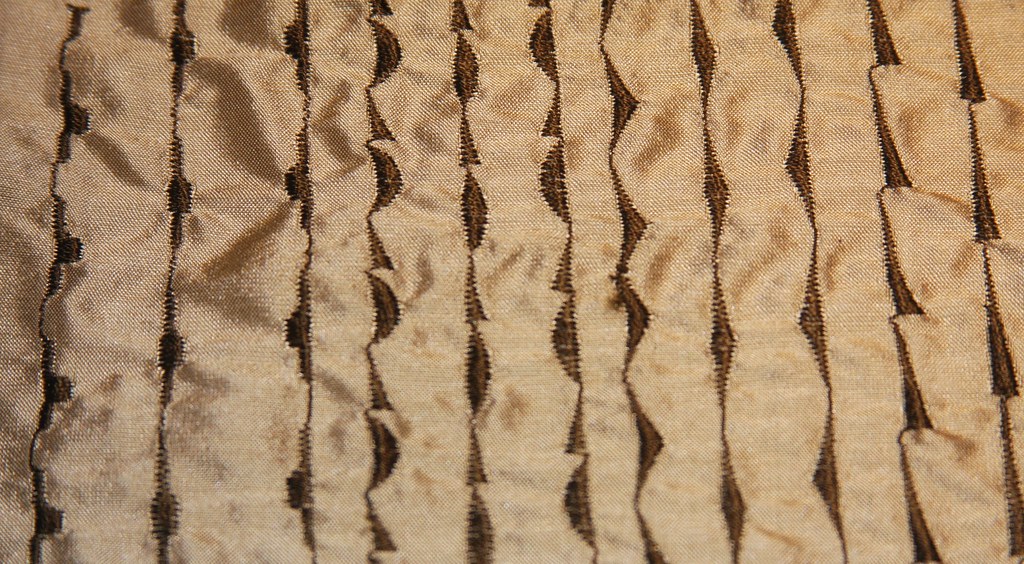
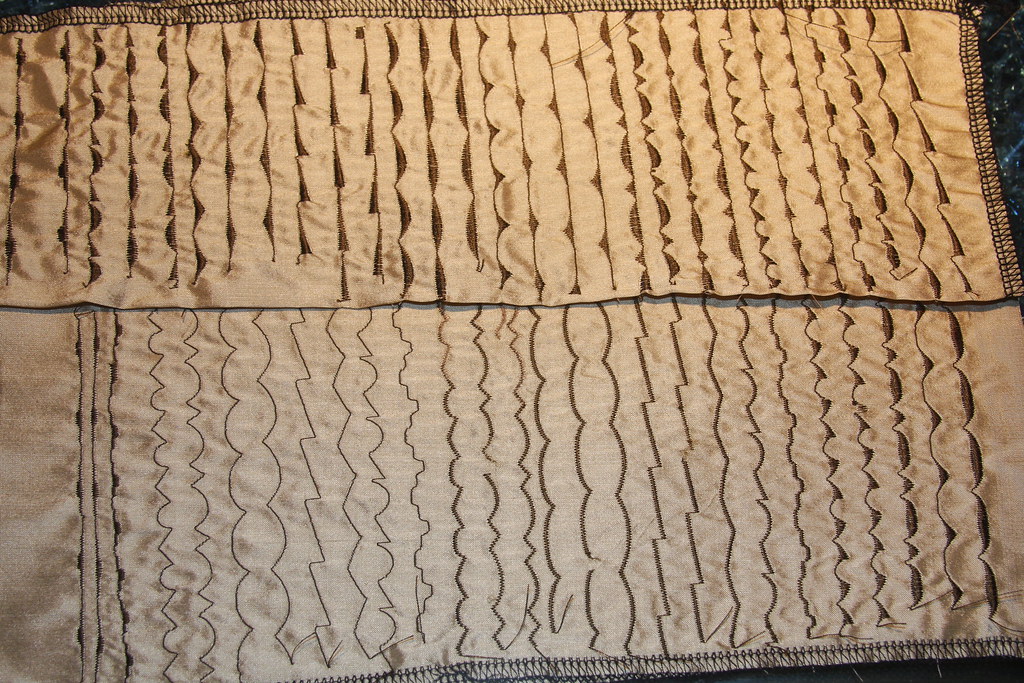
Decorative Stitches on the Pfaff 360 TOL 1960's

Since I'm pining for the decorative stitches on the modern machines, I thought I'd take a closer look at the ones my vintage Pfaff can do.  After getting through the stitch pattern wheel, I'm beginning to understand what all the settings control.


IMG_6506

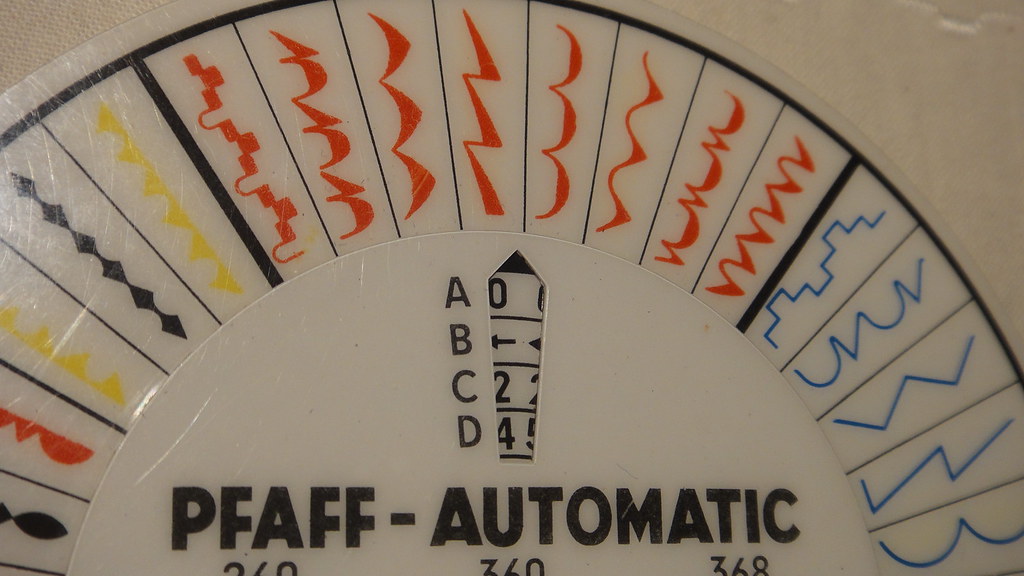
I know, the machine is not pretty but it's my first and there's an attachment here ;) In order to stitch out decorative stitches on this machine, there's a pattern wheel.
Pfaff decorative stitches red zone chart

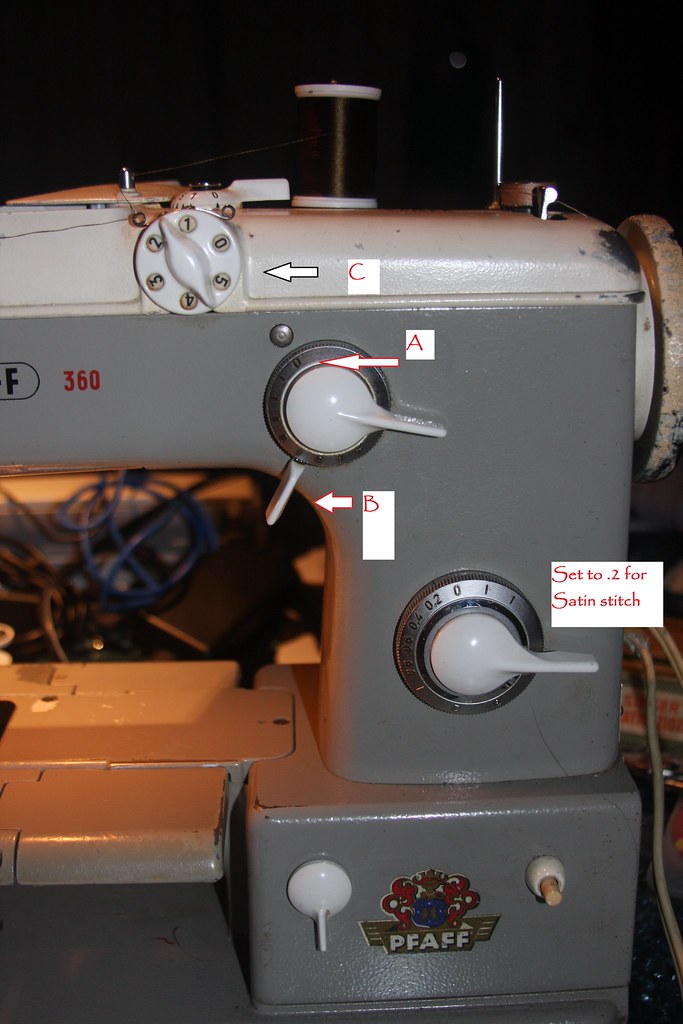
The pattern wheel tells you how to set the many levers and cams on the machines in a combination that will stitch out the pattern you select.


"A" - Is always set to 0 zero.
"B" - Is the needle position, which can be left, center or right, (the pic shows the left position)
"C" - Variation in the satin stitch


IMG_6502

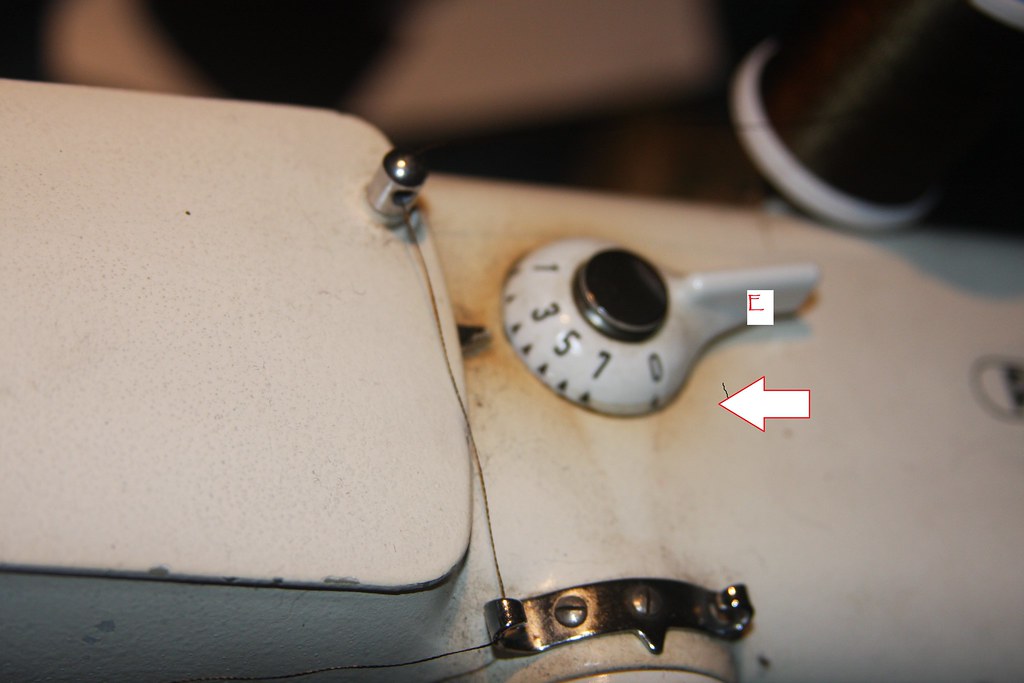
"E" controls the length of the stitch pattern (All of the patterns shown here were stitched with E set to 3)
IMG_6504


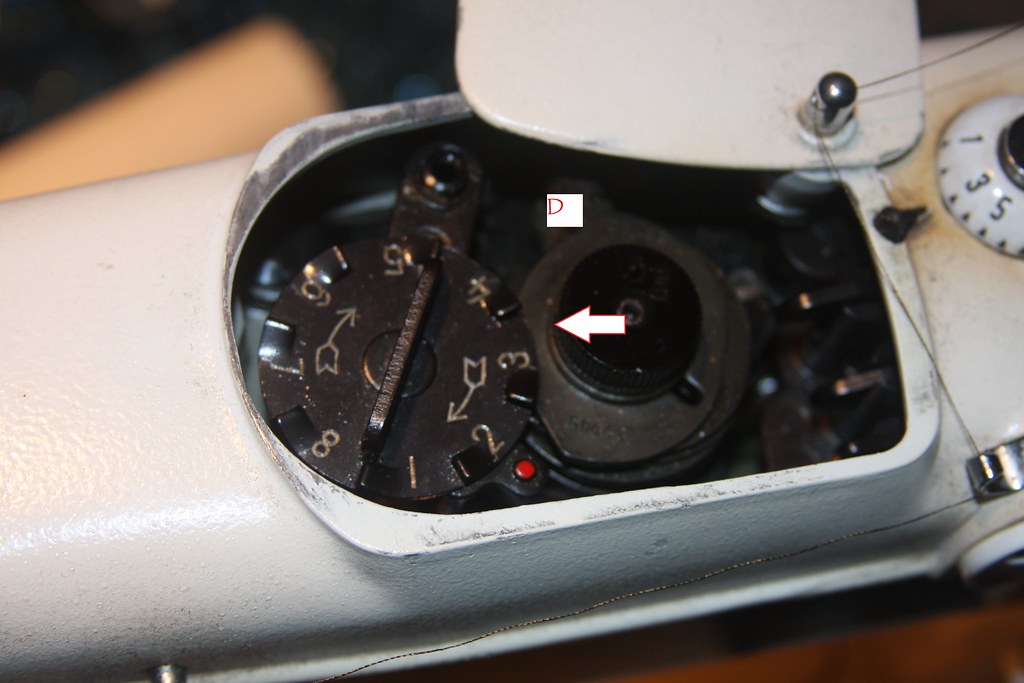
"D" controls the cams and the overall shape of the design.
IMG_6501

Moving from 8 through 1, with A at 0
Using a straight stitch design, these are the shapes in the cams.

BASIS FOR ALL DECORATIVE STITCHES

If we set A at 1.5 we get the same shapes in a satin stitch.


DEC STITCHES

C gives us variation within the satin stitch,
changing the needle position B gives us a right or left (or mirror image) or center (balanced) orientation to the design, .
IMG_6493

Decorative stitches overview

These can be used, as is, alone, or you can combine them for an embroidery design.

The challenge with combining them, is that the machine doesn't automatically start with the beginning of a motif.  It sometimes starts mid motif.

The other challenge is that while the left and right needle position "should" give you a mirror image, mine does not (could be broken, or stuck somewhere in the cams).  The left needle position on my machine yields a denser shorter pattern, then the right or center needle positions.

It will require more patience and knowledge of your own machine to get the stitch patterns to balance properly.  So it would appear that balance in the decorative designs is a challenge with a vintage machine as well as the newer computerized machines.

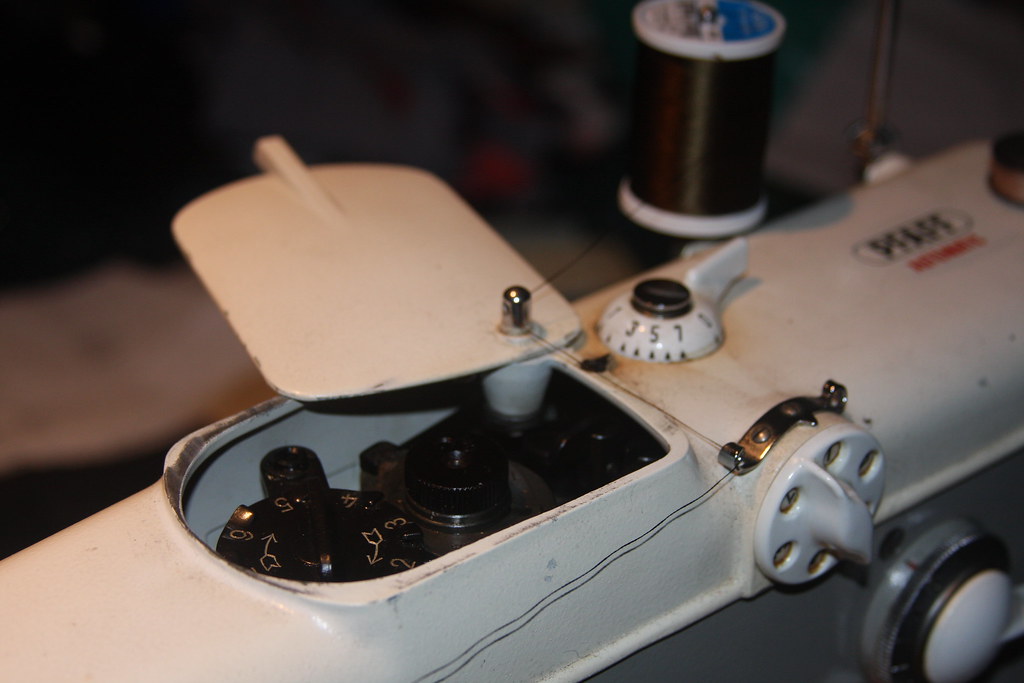
Thread breaks are also a bit of a challenge as well, don't leave the top cover open as you embroider. It puts tension on the thread and you'll find yourself stopping to rethread and try to rescue the continuation of the design.  So don't do this (below).

IMG_6500

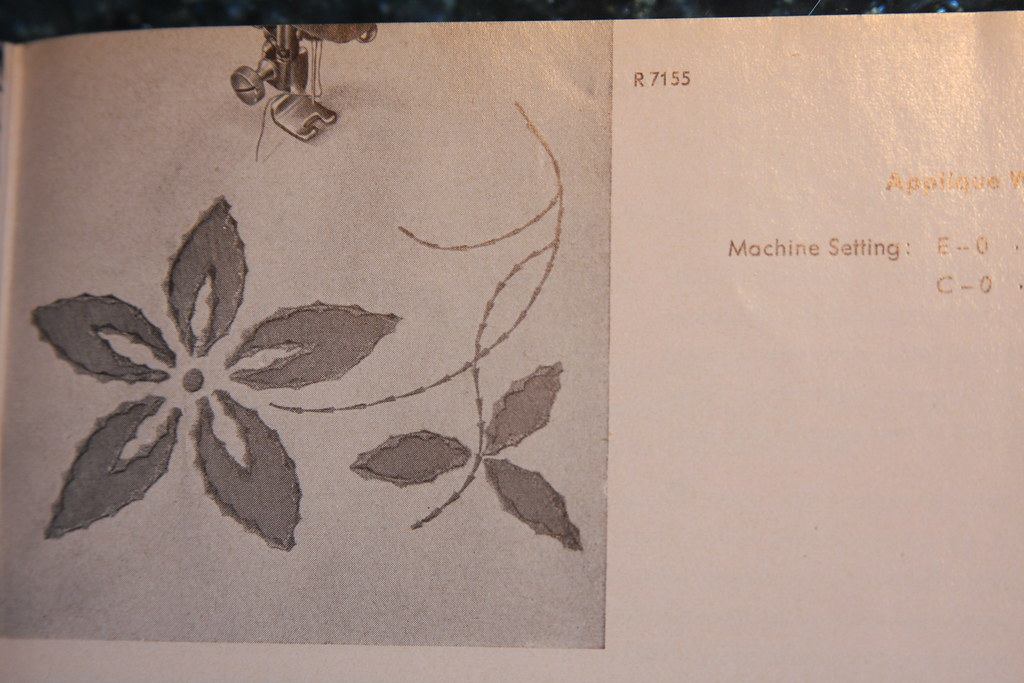
So what would you use these designs for?  Embroidery, and applique work.

IMG_6520

Wednesday, January 2, 2013

The latest Embroidery/Sewing technology in the Galaxy


I went to see the Dreamweaver XE   $5,600.00, created by Star Trek loving engineers no doubt.  Several features reminding me of Home Depot and man caves.  It has a laser, a walking foot with a rubber belt, and you can watch tutorials on the screen, tell me a man hasn't designed this.  As a result it's intuitive to a point.


I went to see this machine, in South Florida the price is aproximately $5,600 exc tax.  The person demonstrating it is still learning it, but she took her time to show me the machine.  

The satin stitch on the buttonholes was a little too open for my tastes.  The machine will let you increase density but not beyond .3 or .2 mm.  We managed to get a better looking stitch by repeating the buttonhole over the old one.  When we did that it was a bit better but we lost the detail on the end of the keyhole, which was triangular.

The tension on the stitch (set at default) and moving from quilting cotton to denim was spot on.  I asked her to demonstrate the satin stitch without any stabilizer and it wasn't distorted.  The decorative stitches without stabilizer didn't pucker either, you may need something if sewing lighter weights.

You can sew with the embroidery unit attached.

What was interesting was the walking foot.  It's huge, imagine the Bernina BSR foot x2, right now it has only one foot/sole plate that comes with it, but the rubber belt made sense to me, and is supposed to feed the fabric through at the same rate as the feed dogs.

The laser tools were interesting.  There is one laser which shows you a path for aligning your fabric, and another which pin points exactly where your needle meets the fabric, which is handy if you have a thread break or some other calamity while embroidering, or sewing.

It has a nice big screen, but I forgot to ask if it had a thread color library of the major brands.  The embroidery colors that came up were more descriptive, light green, mid green, gold, dark gold, and I'd like to see what the design looks like on the screen before burning through thread.

There are videos loaded on the machine with tutorials for operation.
You can watch it on the machine's screen, that was interesting as well.  Makes me wonder if future machines will  be need wireless access soon.

Large Harp space 11 1/4" wide, they say it's enough for a king quilt.

The feet and needle are screw in, not snap on.

As my eyes are beginning to get worse for close up work, there were a few other functions that were really impressive.  The lighting, and the auto needle threader.

It does have a free arm but it's not small, so if you are thinking baby clothes, this would be too wide for little sleeves, but for adult sized sleeve setting it's a better size.

If you want to digitize you will still need a separate machine software program (around $1,500), and a computer to do that.

It was an interesting day, as I only own mechanical machines I'm, amazed at what is available now.... the prices are pretty impressive as well.  Until they come up with a machine that can do everything it is capable of doing well I'm keeping my wallet closed.
My vintage Singer professional buttonhole attachment still makes the best buttonholes around. 
How can that be?  

Happy New Year!!!

So has anyone started cleaning yet? These brushes are all from Privet House in Connecticut, makes me want to clean something.

I am busily looking for things to list on ebay to be able to afford all of the lovely machines on my growing list.
Hope everyone had a safe and happy New Years Day!!