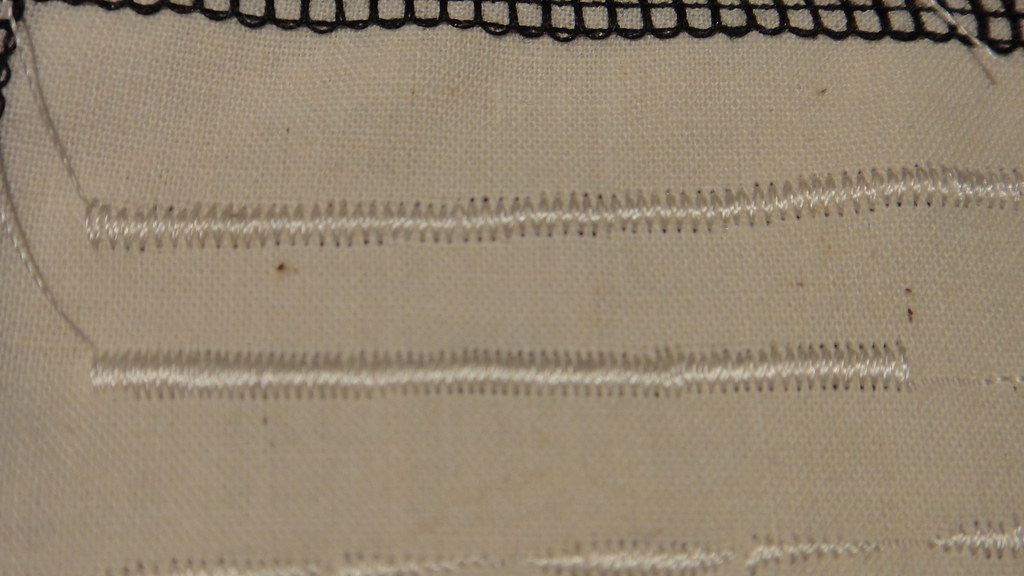
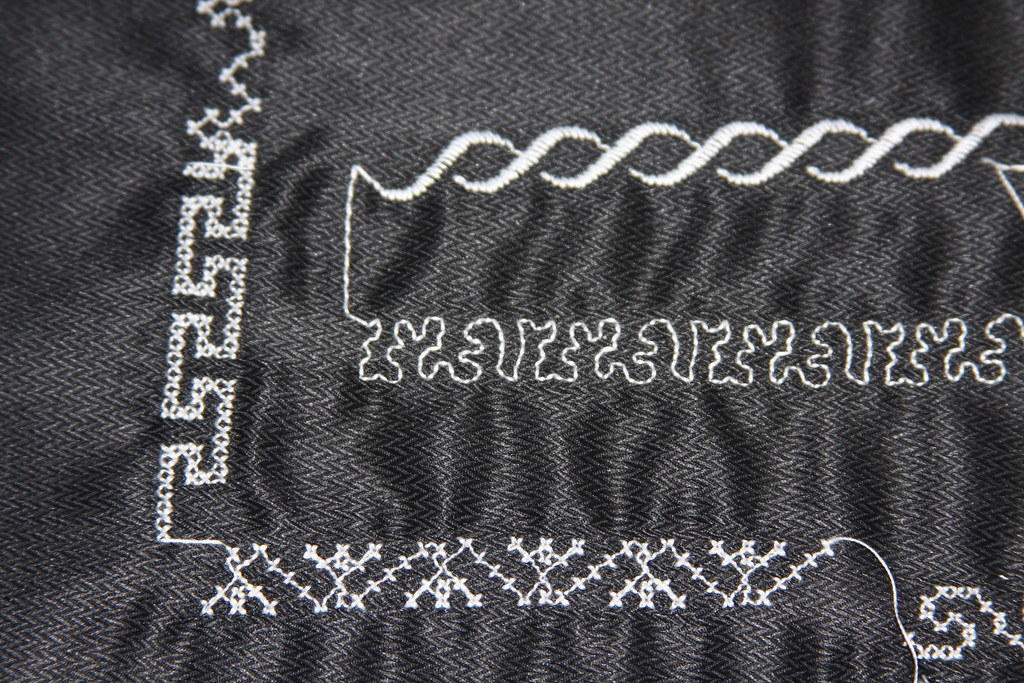
Monday, December 31, 2012

Decorative stitches vintage vs computerized

Hello!! I've been away testing machines and playing, Happy 31st! I hope everyone is ready to ring in another new year, and put 2012 to bed. So onto the mystery.... Can you tell who is who?

Pfaff decorative stitches red zone

Pfaff satin stitch

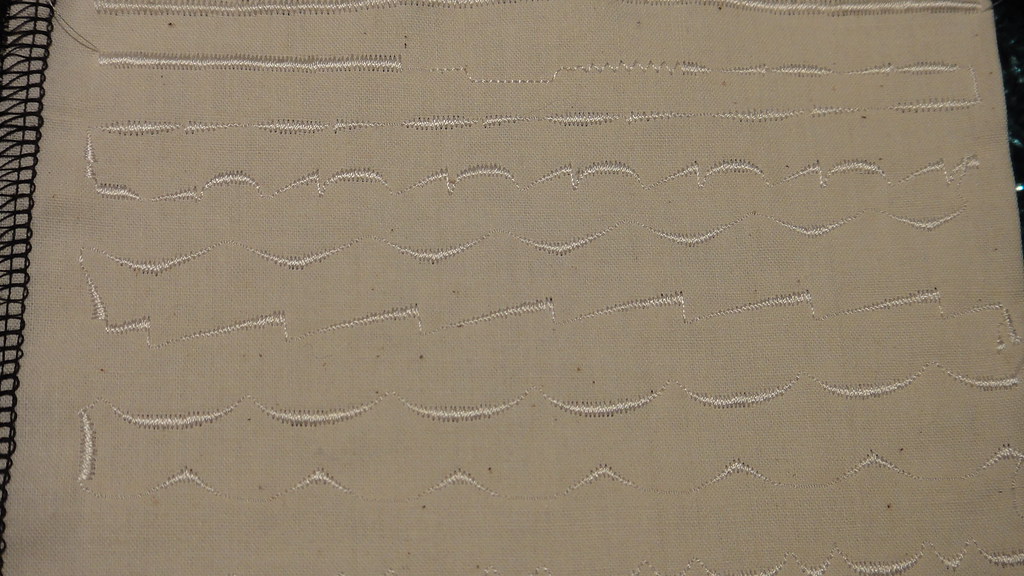
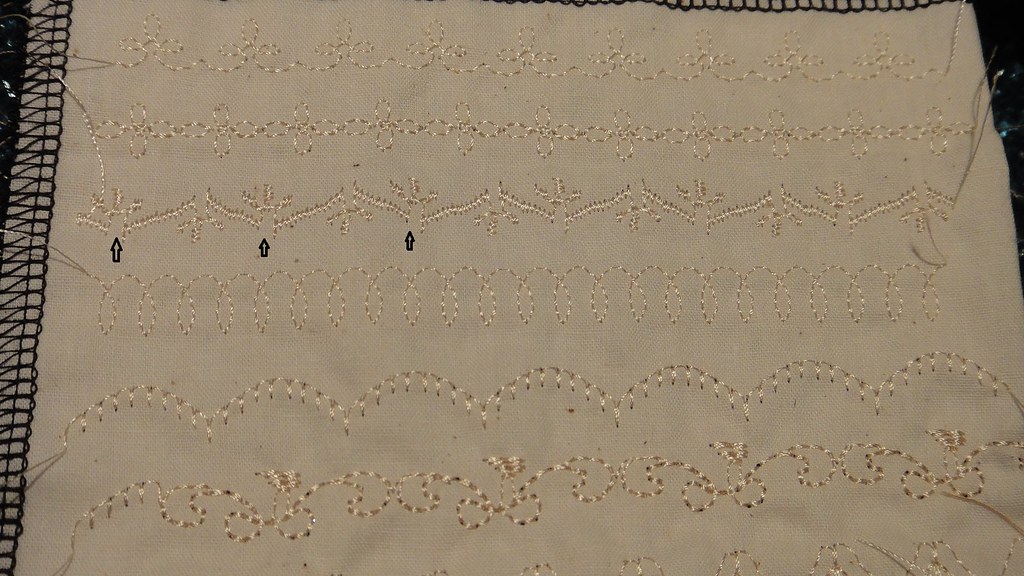
cross stitchWhile the vintage samples are less exciting in design, to me they are superior in execution. The gold samples from both machines use Gutterman all purpose thread in the bobbin and sulky 40wt rayon in the top, with the Universal 70 needle. The samples in white were made from a Mettler cotton thread.  I am amazed that the vintage sample has absolutely no puckers, while the modern machine stitch does.


The modern machine costs as much as my entire sewing machine collection. So either it is very expensive or I bought some great bargains (It's more of the later). Here is the issue with this lovely machine. While I have been sampling the decorative stitches, I found that a certain type of stitch doesn't execute properly, it has elements of a satin stitch and it just does not play nice.

 1) buttonholes Actually these are really nice, until you turn the sample over. Buttonholes
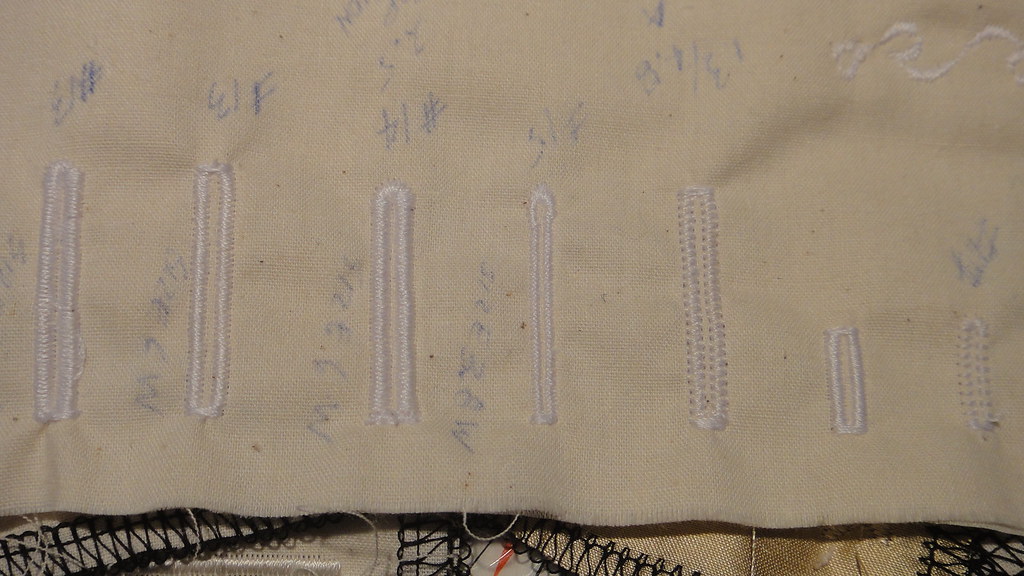
The ends of the buttonhole are especially bulky, the needle goes over and over the ends and they aren't flat, except for one sample. Bulky end buttonholes underside
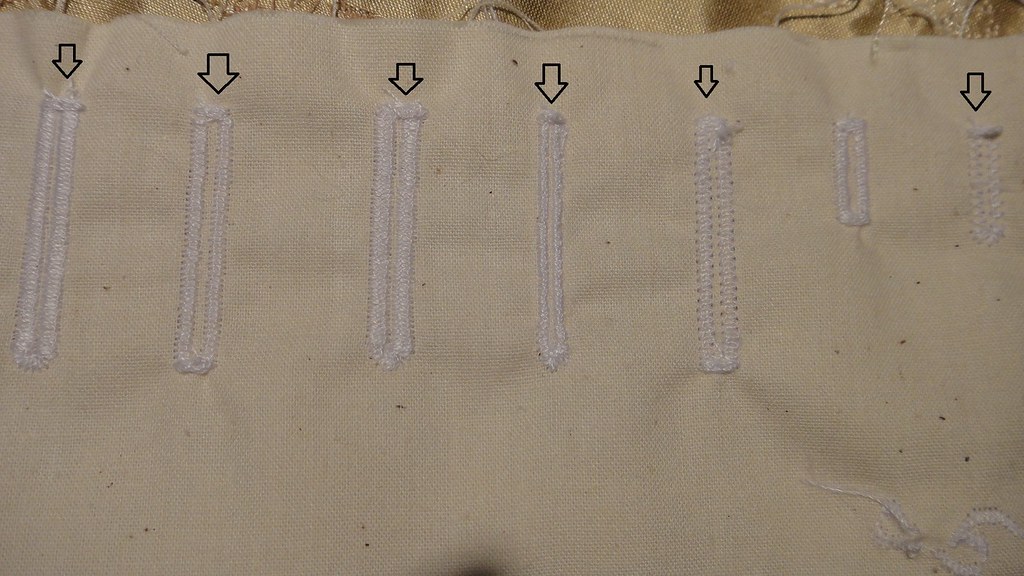
Then the bow deco stitch. First it didn't form properly because I had the wrong foot on the machine, once I changed the foot, the stitch improved but it still does not meet at the center knot.  The top row has the wrong foot, the bottom row has the proper foot.Bow detail

The bow

I look for another design with a bit of a spread on it and try the leaf. The leaves
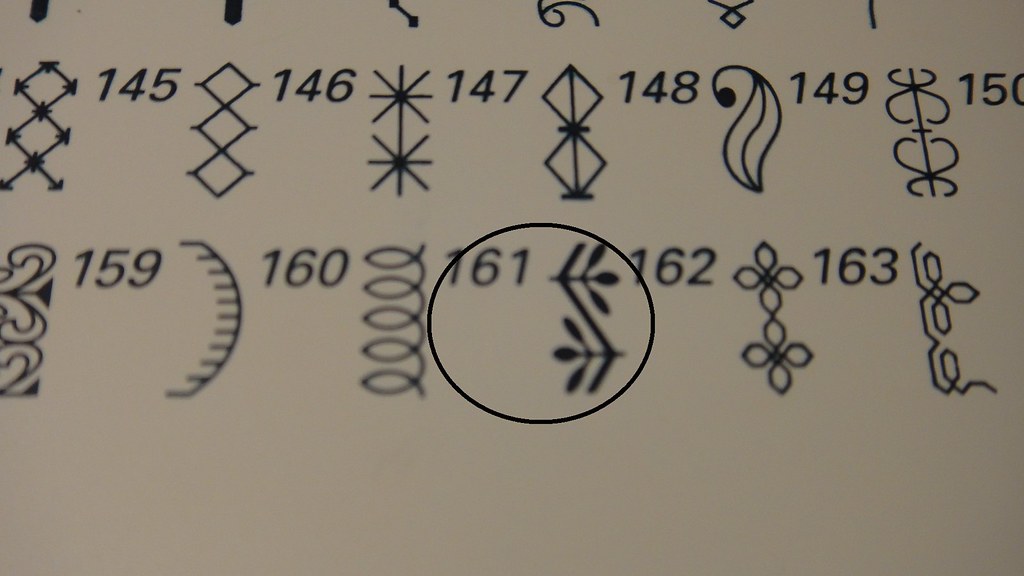
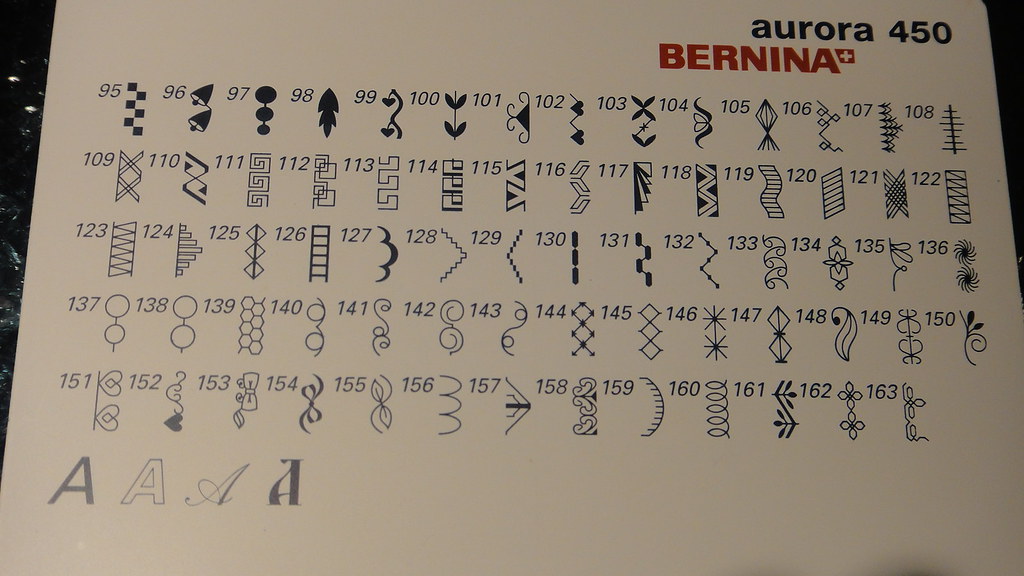
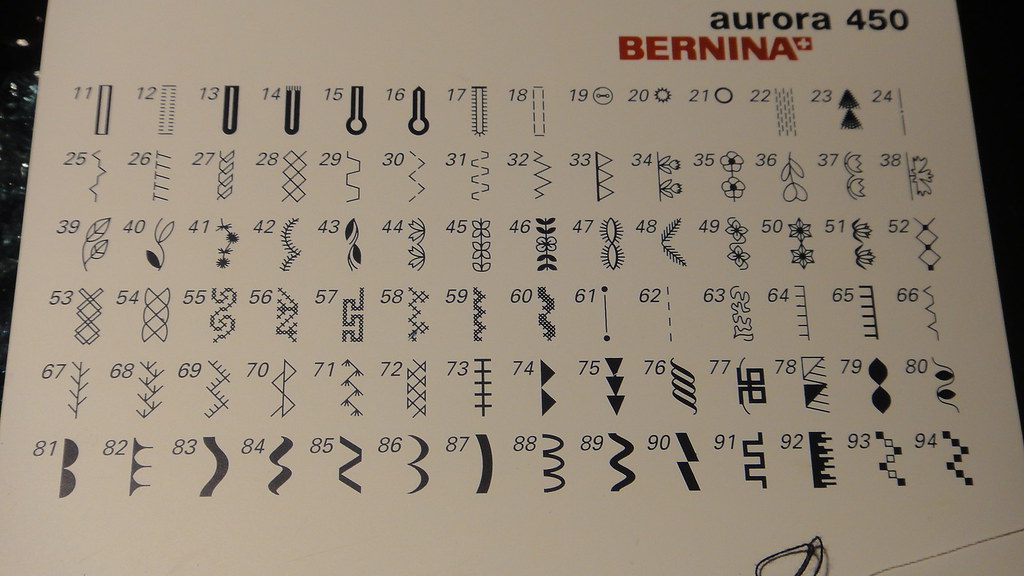
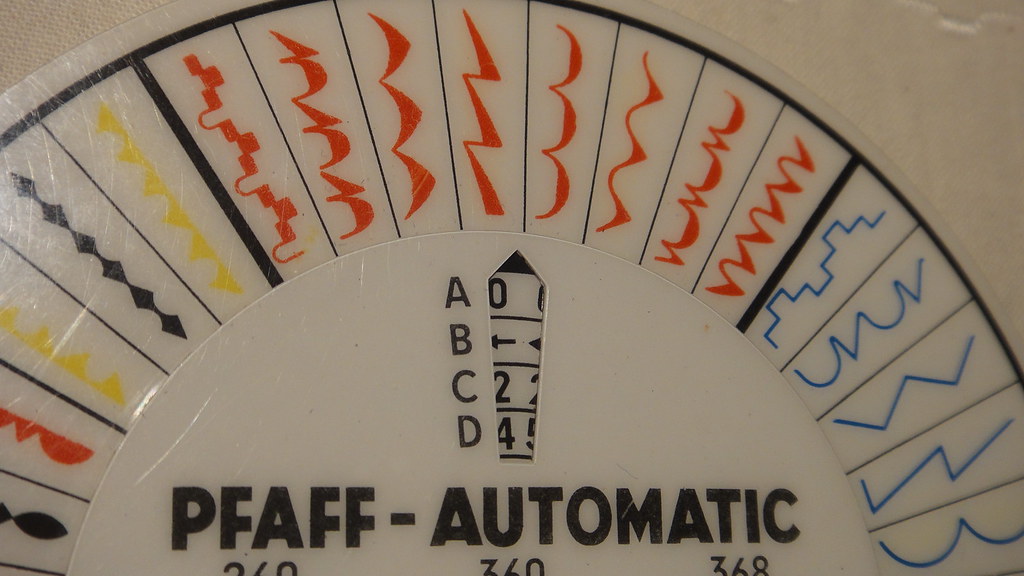
Of course I used the wrong foot here :) DSC02668 Here it is stitched with the proper foot and it improved but still not perfect, and it still doesn't meet in the middle. Leaves improved Now there are other stitches that are fabulous on this machine, but it if skips like this on these types of deco stitches it will limit the number of decorative stitches I can use. Now why would I do that with such an expensive machine? I wouldn't. The store is closed for inventory but when they open I will be waiting for them. This business of modern machines is tricky and exhausting. By the end of all of this testing I'll write up a strategy for testing machines before bringing them home. The vintage samples are from a Pfaff 360, and the modern samples are from a Bernina Aurora 450. Pfaff decorative stitches red zone chart Bernina decorative stitches part 2 Bernina decorative stitches I love my vintage machines, but I'm not going to lie, I would love to have a travel machine that can sew, make buttonholes, FMQ, and even embroider. Working with a computerized machine has had it's perks. The bobbin winder, winds the bobbin perfectly and very easily. Since it's a separate motor, your needle isn't engaged, so there's no worrying about having anything under the presser foot while you are loading a bobbin. A needle threader that actually works Produces a nice satin stitch as long as it's not part of a deco stitch It's a 9 mm machine It has thread cutters everywhere, even in the bobbin area. It has fabulous lighting ] Snap on feet Automatic buttonholes and can be ungraded to an embroidery machine. 11 needle postions Free arm Free hand system Back to the drawing board, maybe 2013 is the year I get it right.
Tuesday, December 4, 2012

Embroidery on a Vintage Machine - just a blip of a post.

Where were we before Thanksgiving?  Ah yes, embroidering on a vintage singer.

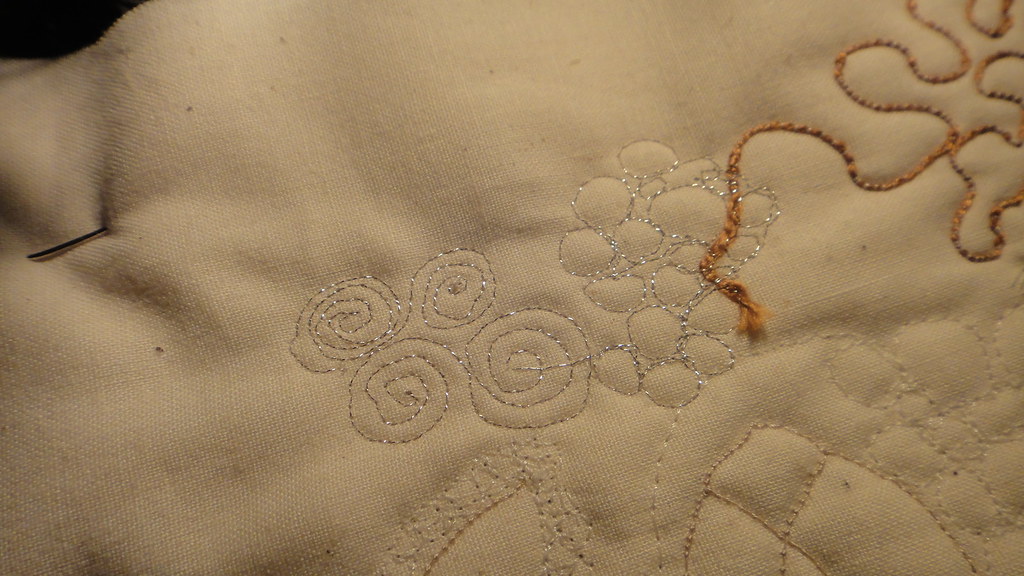
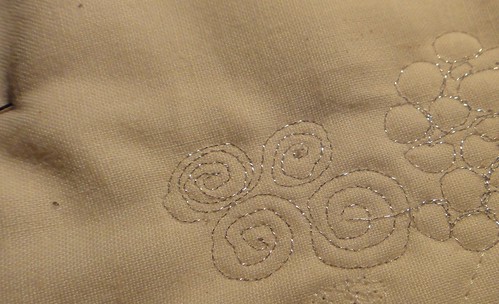
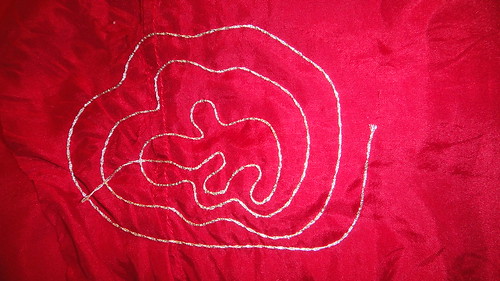
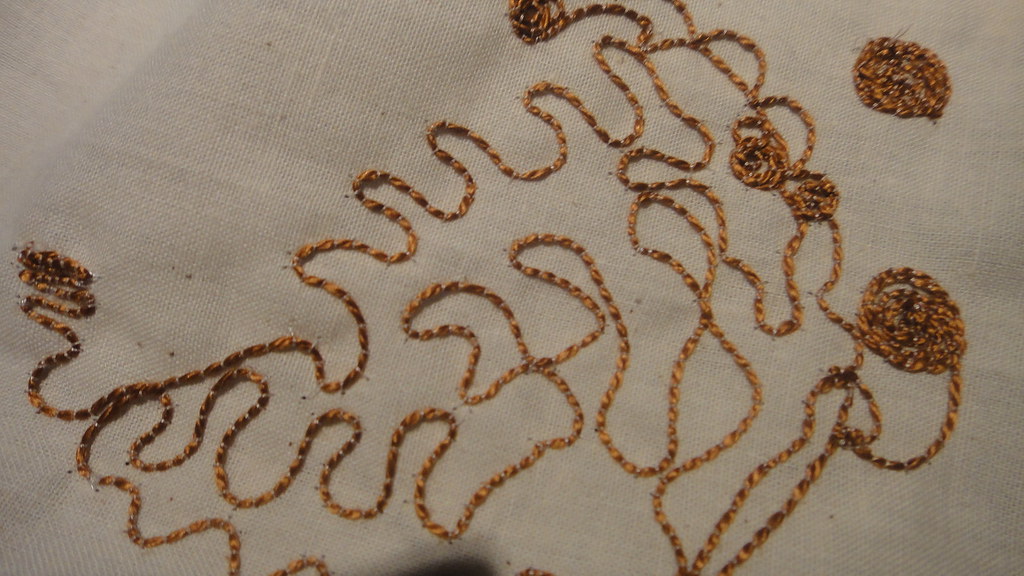
Here is the Pearl embroidery floss in the bobbin, and some polyester quilting thread on the top.  I like this better than the metallic thread, it has a nice sheen and thickness to it, and it doesn't make the fabric stiff, like the metallic floss.  This was also done with a hoop, and no stabilizer.  There is a lot of potential with this, I like the circular pattern, you just have to remember to start in the center and work your way out.  The biggest issue with this is that since the embroidery thread is in the bobbin, you don't see the design form until you flip it over.  You are sewing blind.  I was unsure how dense the stitching around the circle pattern was, not sure it I was leaving gaps of ground, but they look pretty good.


DSC02624
The top thread did not like the sharp corners, as you can see them straining a bit. Looks like a tension issue, but that can be fixed, you see what I mean about stitching blind?  I had no idea this was happening on the underside of the fabric, all of the stitches looked fine from the back.  I'm also going to have to work out a system for the way the thread is started because it leaves a tail.  The Singer book doesn't address this at all, so there are more samples in my future.

DSC02622

Monday, December 3, 2012

First Impressions of an obsolete embroidery machine

Are you thinking of getting into machine embroidery?  The top of the line machines for Bernina, Pfaff and Babylock can run you into the $1,000's of dollars with the embroidery units.  I thought about dipping my toe in what was considered a top of the line machine in 2000.

The Bernina Artista 185 (pictured without the embroidery attachment).


Here's what I learned....

If you want the machine to work with just the pre loaded designs you can do that (but where's the fun in that?).
If you want the machine to embroider designs purchased online, you can do that provided you have their proprietary software to do that.... but that's not all.... because these machines have a computerized component (insert obsolete here), they use cables that would now be considered outdated.

The Bernina Artista 185 uses a serial port
There is an actual serial port built into the side of the machine and the cable runs from it to the back of your computer.  Since I've never owned a computerized machine before I found this fascinating.

All is not lost yet..... You can buy a serial port to USB adapter to connect the serial port to the machine and the USB end to your computer.  Bernina actually recommends a brand that works for this on their website.

Think you are ready now?  Think again.

The Bernina PC Embroidery software v4.1 (which is what I received) is compatible with Microsoft
 Windows 95Windows 98, and Windows ME  , that was a long time ago.  I happened to have Windows ME still in it's package, and an old lap top to plug everything in.

Think you are ready?  Think again.

There's a dongle involved.  Yeah I didn't know what this was either, but it's a way for Bernina to ensure that the software is being used by one user at a time.  So how do they do this?

I'm still unsure that the v4.1 requires a dongle, but Bernina customer service says that it does.

"Dongles" can either be the CD itself, or a USB stick, which has to remain in the computer somewhere while you are using the software.  If you ever played early versions of some gaming programs, you might remember where it asks you to insert disc "x" before you can go on, or you have to play with a CD installed on your computer otherwise the program won't run.  Even operating systems with multiple discs have this feature when you are loading the software onto your computer.  It's the manufacturer's security that you aren't running off copies for all of your friends, he who has the dongle runs the program.

So you have the dongle....

Think you are ready?  Think again.
Some dongles can be disabled by Bernina if the previous owner had an upgrade at some point.
If the dongle is damaged and does not work, you have the option of going back to your dealer to buy another one, which might mean buying another software package (about $1,000 more) to replace it.  From what I've read Bernina is very rigid in this regard, and I've only read of instances where owners were able to purchase another dongle for a fee ($200) on current machines, with their receipts in their hands.

You have a question about the 4.1 software, send Bernina's customer  service an email.
They will send you a nice prompt email saying "We no longer support that software, buy v. 5, or use the free software with limited functionality on our site".

Did you say you bought that Bernina Artista 185 on ebay?
Pray that your seller knows how to pack a computerized sewing machine, and that they know enough about the machine to let you know that the software they are selling you is still valid, what operating system it works with, what cables are required and finally that the dongle is still valid and functional, make sure they have a return policy.

A dear friend of mine recommended I just hit the local dealers and look for trade in machines.  I think this is sound advice, maybe I can find a machine that I won't need a mortgage for, get some free classes and start a relationship with a local dealer who will support me through the process.

Here's what I liked about the machine, the light around the needle area, the bobbin under the arm, which faces forward, the stainless bit on the arm (purely cosmetics here I know).

I don't like the drop in bobbins, I imagine it being cumbersome to load a bobbin mid project.

When I tried to run the machine without thread, it wouldn't let me.  A machine that talks back, I don't think so!!  From what I've read, they recommend that you clean the machine after each use.  It beeped and shuddered like a wee robot.  I also liked that the buttonhole stitches were at the ready just a poke away, instead of having to hunt down an attachment and it's templates, I would just have to hit a button.

I'm warming up to the idea of a computerized machine, but won't be giving up my mechanicals anytime soon.

Also if I'm wrong  about anything in this post and you are a Bernina user let me know, these are just first impressions and I wanted to put it in writing in case there are people out there looking to buy this machine for embroidery.

Sunday, November 18, 2012

Metallic Thread on a Vintage Machine

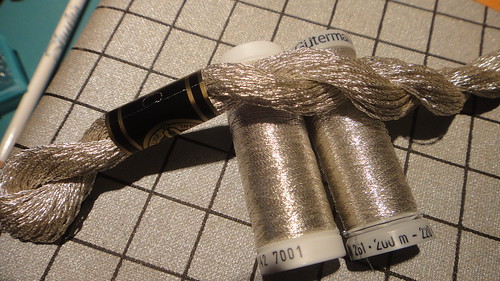
For the experiment, we have three types of silver metallic thread.

Sulky Gutterman Pearl Cotton metallic DSC02618

The Sulky and Gutterman were almost identical, so the Sulky 7001 metallic silver is what was used for the samples.

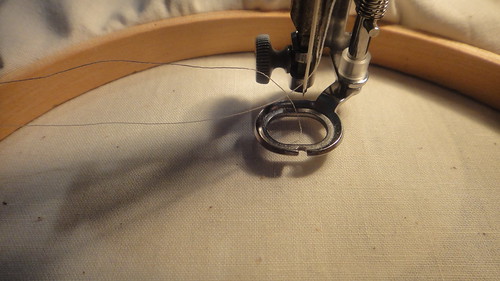
As instructed, the bobbin is wound with the metallic thread. DSC02620

Then the bobbin thread is pulled up to the top. DSC02621

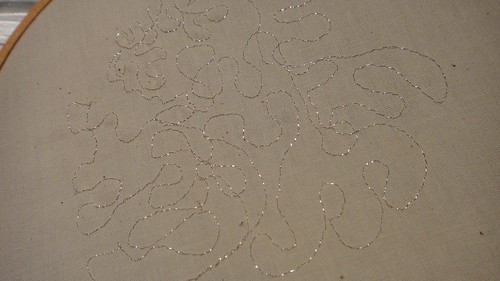
 and away we go....warming up on muslin, on the pic below you can make out the tension issues I ran into with slight puckers showing up on the left side, stitches nice and flat on the right.

DSC02623


Below a sample on a quilt sandwich (no hoop, so much better control)


DSC02622


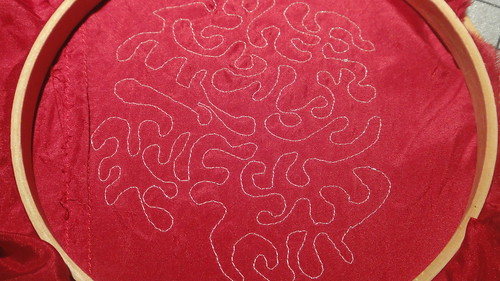
 and finally on a scrap of China Silk doubled up and back in the hoop.
Wrong side
DSC02626


Right side
silver wandering


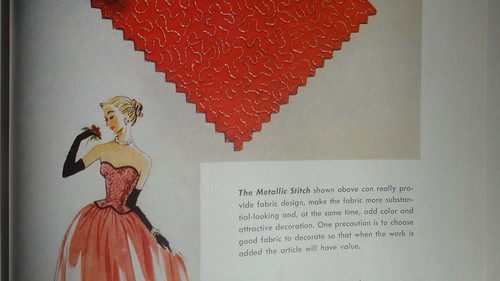
for comparison the original sample pic Metallic stitch 3

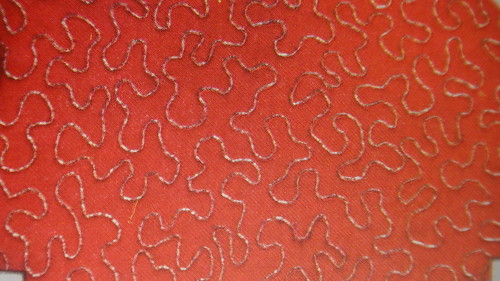
Just when I thought I had a handle on this all over pattern, the hoop was my biggest obstacle, getting caught on the darning foot, and other parts of the machine.  Aside from needing more practice to get those motifs the right size and uniform, the sample pic looks a little more raised than my sample.

Here is the pearl cotton metallic.  I embroidered over the top of the first sample, and it is more raised as you can see.  What I need is a thread that is somewhere between the two. Can you tell I was tired by the time I tried this.  On the Pearl cotton you can not pull the thread to the wrong side of the fabric, and you can see the knot that formed because of it on the lower center of the pic.

DSC02631
I also tried it without a hoop (something I do not recommend if your fabric is very thin).

DSC02630

In the end, I still need more practice, and a bigger hoop.
The conclusion of this project is that the fine metallic Sulky is so thin it creates a very light and lacy effect.
The Pearl Cotton metallic is very pronounced, and adds a bit of stiffness to the fabric, more so than the thinner Sulky.  I am pretty pleased that the Pearl Cotton worked at all in the bobbin, it was so thick, I imagined it would get hung up.  Also I have to mention that because the Pearl Cotton is a thicker thread, I couldn't get a lot of yardage on the bobbin itself.  So this is something to consider if you are embarking on a project like this.  Measure out the yardage on the bobbin and plan your design accordingly to minimize thread tails.  If I were to do this again, I might take a few stitches to start, leaving a tail, then start the pattern.  Also I would draw a light sketch of the pattern before starting.

Exploring the Possibilities in a Vintage Machine

Today's computerized machines come with a million fancy stitches, and youtube videos to entice you with the possibilities of embroidery and buttonholes, and hemming, tucking, then they link you to other videos featuring specialty feet, and Oh wouldn't you love to have this fancy foot, look what it can do.  Some of these machines can be as expensive as a new car, that's my only objection.  At the free motion quilting workshop there was a sea of Berninas (mostly because the local dealer has a cult following), I showed up with a 50 year old machine and it was like a museum piece.

How many of us actually use all of the features?  With garment sewing all you really need is a good straight stitch.

DSC00387
 We get machines without exploring everything the machine is capable of.  I've decided, no new machine until I explore everything my Singer will do.  For this experiment, I'm starting off with the most basic of machines, a Vintage Singer 15-91.  It has a straight stitch and back stitch, so it goes forward and backwards.  Originally it came with a box of attachments.

For the next few blog posts, I'll be going back in time with my Singer Sewing Book, published in 1949.
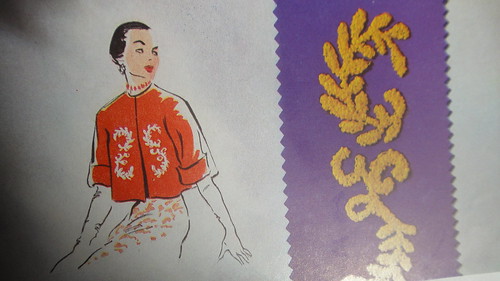
I am most intrigued with the Fashion Stitches and Monogram techniques in the book, because between you and me it doesn't look possible to successfully create these stitches.

Metallic Stitch

Metallic Stitch

Boucle Stitch

Boucle stitch 1

Spiral Stitch

Spiral stitch


Here's to hoping my next post isn't about tears, best absorbing Kleenex brands and the frustrations of working with a Vintage Machine.

Friday, November 9, 2012

The Learning Curve

Any time you are learning a new skill, know that there are people who do it better and can show you how.  There are things that we can teach ourselves but if you are on a time line, there's no better way than to get lessons with a competent teacher.  Here is the proof.  

My first attempt at free motion quilting on my own.


After a 7 hours of instruction.


Here is what is great about this, I can now finish 2 quilt tops in my stash and get those projects in use.  I can finally work on a quilt project that I bought the fabric for 12 years ago, I can finally make a cover for my headboard in whatever color or design I want, and I can finally forge ahead with that quilted suede skirt I've wanted to add to my wardrobe.

Find a great teacher, pay them for their time, and it will pay you back 10 fold.

Oh and this is the machine I used, so you really don't have to go crazy spending money on a specialized machine to start learning the techiniques.


008

Tuesday, October 23, 2012

When the Universe Aligns - The Holiday Wardrobe part 1

I am on a shirt making binge, looking for that magical shirt pattern, when I stumble into a thrift store to find a full range of fine cotton shirts with their tags still on, and even a linen tunic and a silk bias skirt.  Is the universe telling me to stop trying and just buy them?  Or do they want me to use them as patterns?

Here is the first shirt, Ralph Lauren Blue Label, $4.00, how could this not come home with me?
TL plaid shirt

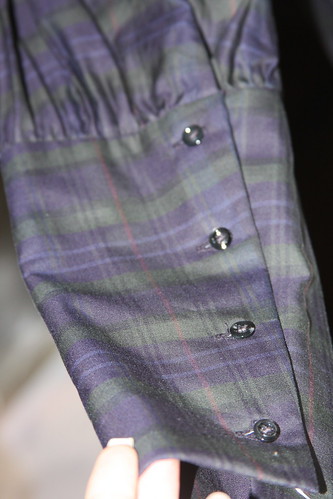
I especially like the sleeves, fitted along the armhole and full at the long cuff, and the mother of pearl buttons.

RL plaid shirt cuff


So what to wear with it if it's warm?

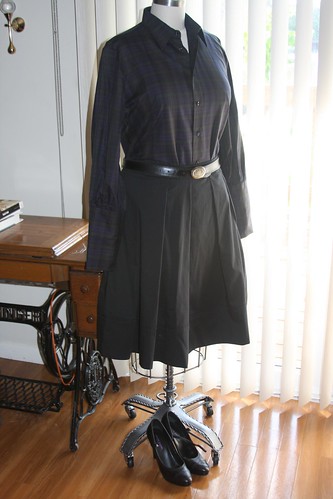
Black poplin skirt Butterick 5756.

RL plaid combo 1

What to wear with it if it's cold?

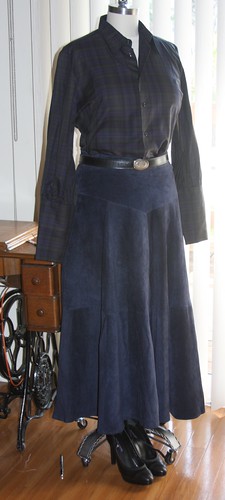
Vintage Navy Suede skirt
RL combo 2

And it can be worn with jeans or navy pants, a winner!!! One outfit option identified for cold and warm weather, 14 more to go...

Sunday, October 21, 2012

Holiday Sewing....from a different persepective

I'm not talking about quilts or bags, or fleece, I'm talking about my wardrobe.

Right about now I'm thinking about the holidays and how the next 10 weeks will be a blur.  I'm also thinking about those holiday photographs and how they become part of history.  I am determined to get my holiday wardrobe together with plenty of time for contingency plans, so here are my priorities for the 2012 Holiday wardrobe plan.

1) Articles of clothing that look good photographed (with me in them)

The flashbulb phenomena
- I still remember that shot of my niece back to back taken in the kitchen.  I was wearing a black Patagonia zip top - it was like a cool max fabric light but opaque, underneath was a nude colored bra but it was a shiny fabric, like a power tricot.  Once the flash went off, all I could hear from behind the camera was, uhmmm we need to take that one over, and no matter how many times they took it, that shiny bra was all you saw.  So make sure you ask gleefully to see the camera so you can view the pic and delete it before it makes it into any family album.

The shiny fabric phenomena
It will add weight, no matter what you do, but if that doesn't bother you then go for it.

The placement in the group phenomena
My family have mastered getting behind me, or having me be the one closest to the flash.  Then I look all lit up and huge a little like this.

Alice in wonderland


Oh no but not this year, I will have the quarter turn mastered, and will shuffle behind everyone.

2) Articles of clothing that look good with jewelry and shoes that I never wear any other time of the year.

I have a few pieces of jewelry that are never worn, mainly because the stuff I wear every day is small and streamlined and practical.  Since I won't be cooking, working out, cleaning etc, I should like to use them.  I've made this an after thought in the past, then decide not to wear it because it just doesn't look right with what I'm wearing.

3) Pieces that can be layered and can tackle changing temperatures
I remember one year asking my SIL what the temperatures would be and she said "Oh it's warm, bring light things", the following day it dropped down into the 40's.  I had to run out and buy a few things, an unnecessary expense.  Lesson learned, check the weather report and ave temps.

4) Make sure my foundation garments are in order.
I will not look lumpy this year, or have any wardrobe malfunctions.


I have some time to get things in order if I start now.  Which reminds me I need to have my hair done soon.

Saturday, October 20, 2012

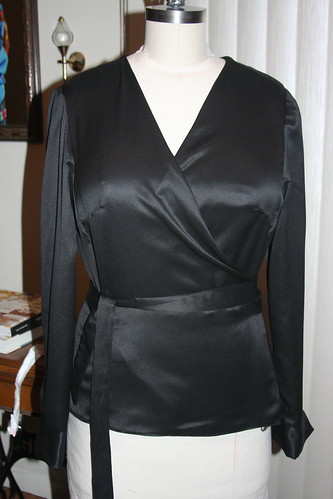
Vogue 8833 finished & shoulder placement


IMG_6340


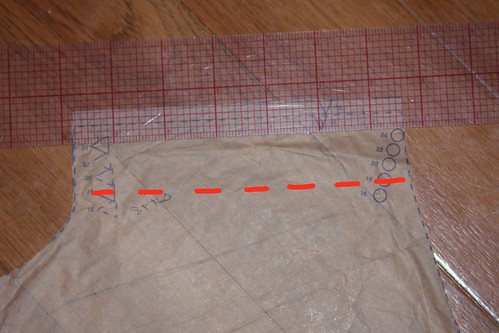
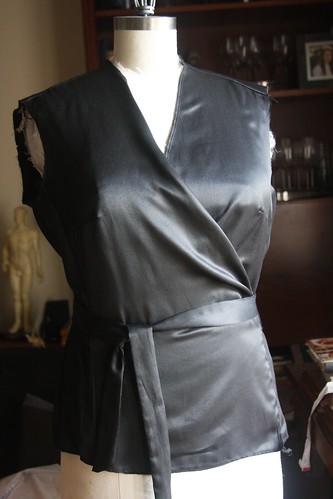
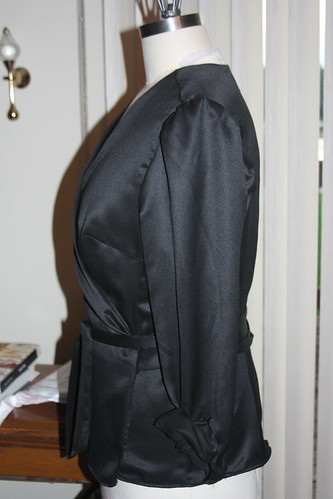
Just when I was ready to blame Vogue..... I realized that this pattern is a little different than most.  The back bodice actually extends onto the front, so the shoulder line is aprox, 1 1/2" from the sewn seam.  My marks had worn off on the body, so I defaulted to the normal placement (top cap of sleeve at the shoulder seam).

  The edge of the ruler would be the sewn seam, and the red dash is the shoulder placement on the wearer.
IMG_6337


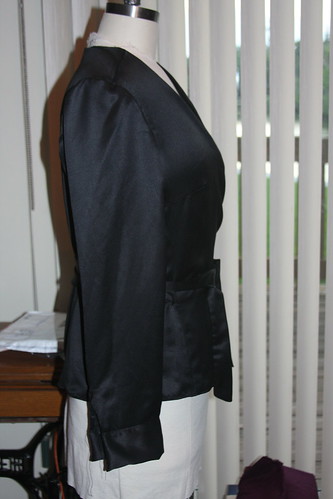
That's when I ended up with this..... horror!!

IMG_6333


When it should really look like this....(I know black and shiny, really difficult to see that this is infinitely better).


IMG_6332

The true test of gaping is wearing it and lifting your arms, and seeing if it rides up and opens down the center front.
I wore it for a little while and even after the changes I made there is still slight gaping on me, also, I wear my sleeves rolled up, and it was tight around the arm.  The sleeve placket would have to be deepened.  It's really a shame because the shape of the princess line is nice, and there isn't a lot of excess ease in the sleeve cap. I think that breaking the code on the non gaping wrap top (excluding knits), is that the armhole would need to be higher, or it would have to be a flutter sleeve.  I think with either I would not have gaping.  There were a lot of good points, but at least for me, there will need to be more work done, in the meantime, I have a new pajama top.

Vogue 8833 - Progress on the muslin


IMG_6322


Can you say shiny? 
This version was made from a Black Japanese herringbone cotton, it has a sheen on the right side.


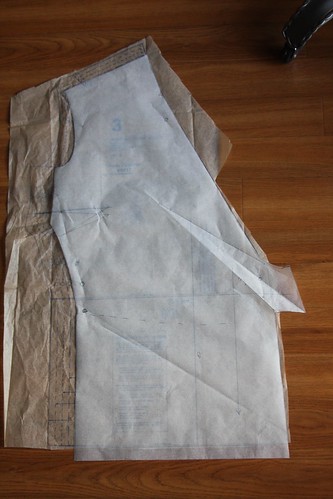
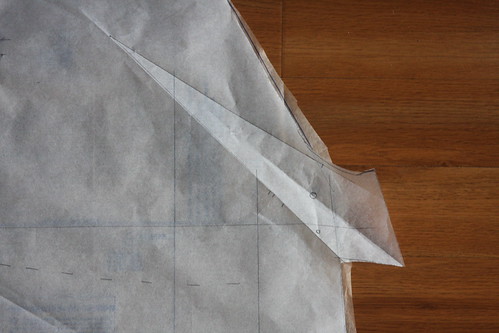
After tissue fitting, it was apparent that the front wrap was going to gap.  This lead to adding a tuck where the tie is attached to the front panel (on both right and left sides).

Before and after pattern adjustments front bodice
IMG_6323

Close up of tuck adjustment

IMG_6327

 So far the adjustments are
+ adding length to the front pieces (about 2 1/2" which was done not on the pattern but at the time of cutting)
+ adding length to the shoulder front and back (cut the next size up at the shoulder)
+ adding fabric for the tuck at the front tie
- shortening the ties 12" (I may add the length back in or remove it altogether and replace it with a button closure)

Since dropping the waist, the proportions are a little off, so the hemline is exactly where I would like it to be. For the final version I'll add 7/8" to the hem for the turn up.