Friday, June 28, 2013

House Cleaning

It seems every summer I change something about this blog, the template, the color, the type.  Well this summer I am opening an Etsy shop.  It was always my intention to do this which is why I never had blog rolls on the side or advertising. That was 4 years ago, time flies when you are sewing, acquiring machines, and part of the online sewing community.  It was so much fun, and completely distracting. In the meantime, I'm moving the most popular posts to another blog which is called Bias Architect.  

The Adonising blog will be dedicated to the garments made for the store, and a few design inspiration posts.  It will take me a bit to get everything organized so bear with me.  I had over 900 posts in these past 4 years so moving them will be no small task.  The upside is that all of the broken links will be restored or deleted, and it will be much more organized.  In the meantime, thank you for visiting!!  Check back with me to see what I'm up to, I always like to hear from you.

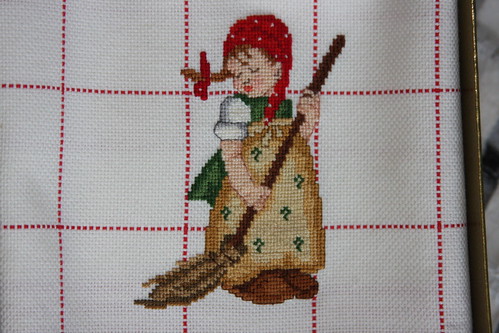
Cross stitch hummel 18ct aida

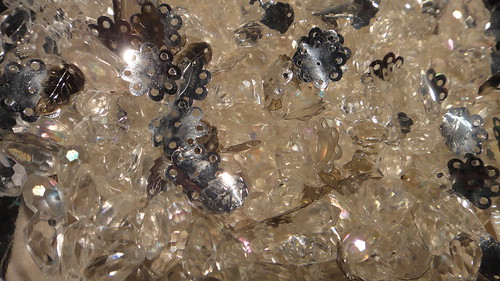
Vintage beads and sequins

Wednesday, June 26, 2013

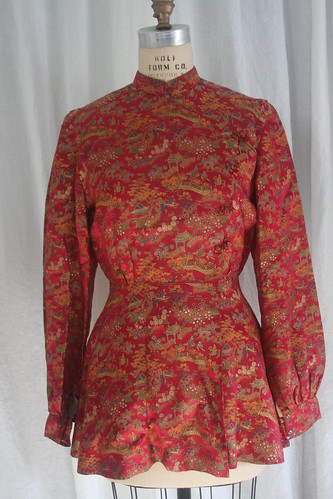
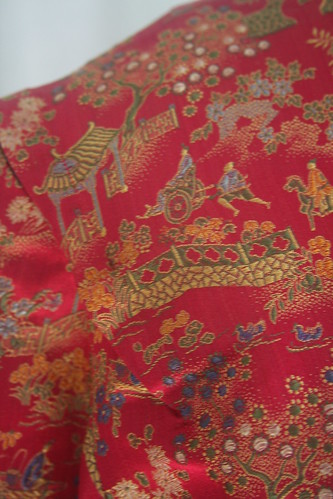
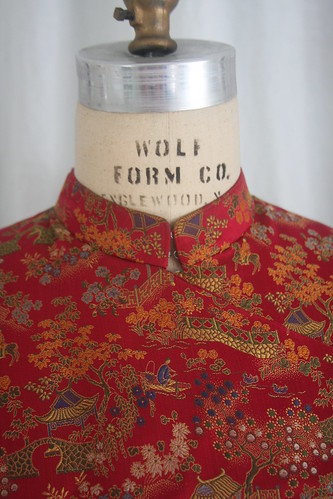
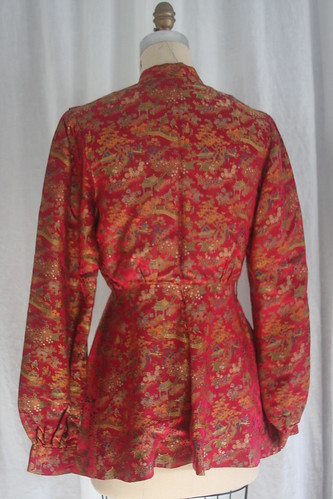
Vintage Silk Brocade Jacket with Peplum

There are times that I think of starting a small museum... here's another item from the local thrift store.  The silk brocade is in excellent condition as is the jacket, the styling and details were worthy of adding it to the growing collection.  

Simple and very well made. Wouldn't this look great with jeans?
IMG_8593

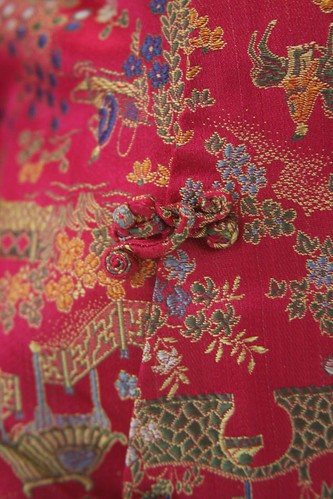
Fine Frog detail
IMG_8594

Shoulder tuck for shaping
IMG_8597

Love how they sunk the hook and eye in the seams
IMG_8596

You could wear this today
IMG_8595

I promise lingerie supplies should be here by this weekend.
In the meantime you can watch this Youtube video at 23:49 the lingerie for a bride starts.
We've come a long way baby!!


Tuesday, June 25, 2013

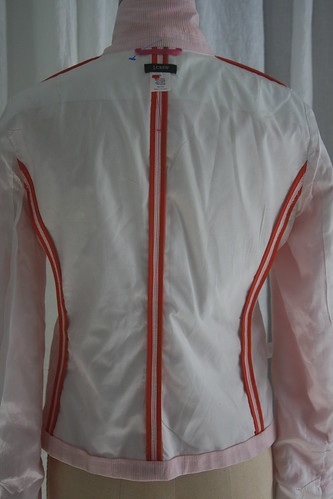
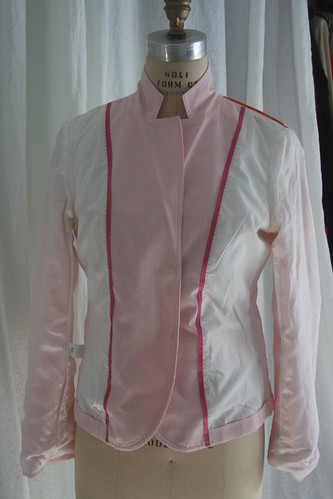
A Good Summer Seersucker Jacket.... Cute Construction Details

Another summer favorite, again cotton, but instead of madras and all it's patchwork stitching,  seersucker which is just as comforting.  These thrift stores are producing some great finds.  This is an especially good example because of the details. 


IMG_8629

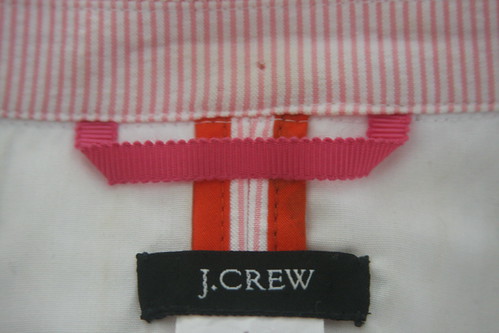
Grosgrain ribbon hanger

IMG_8608

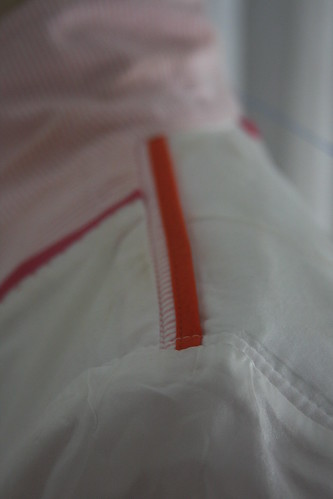
Jacket body is lined in cotton, sleeves in a rayon and with Hong Kong finished edges
IMG_8607

Shoulder seam with the same finish

IMG_8606

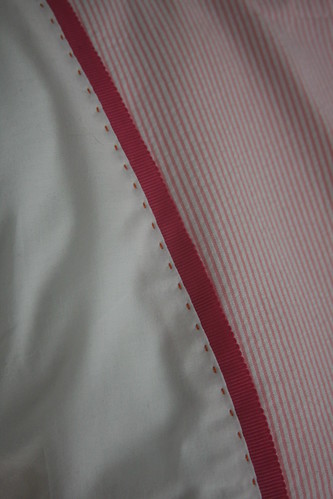
Grosgrain ribbon peeking out between lining and facing with running stitch detail.

IMG_8605

I actually like it this way better :D

IMG_8604

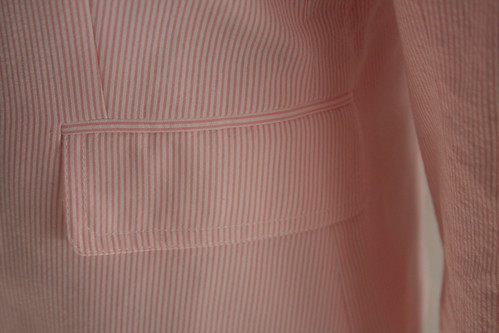
Tailored Welt Flap pocket with piping and topstitching

IMG_8603

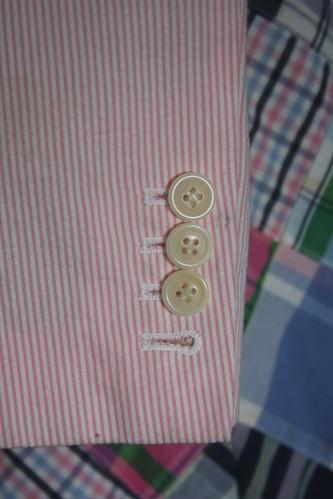
Cuff with vent and functional buttonholes (although mine would be prettier with my vintage buttonholer)

IMG_8628

 There is no reason you can't use a basic jacket pattern and add these details.

Monday, June 24, 2013

Madras Madness!! Summer Wardrobes

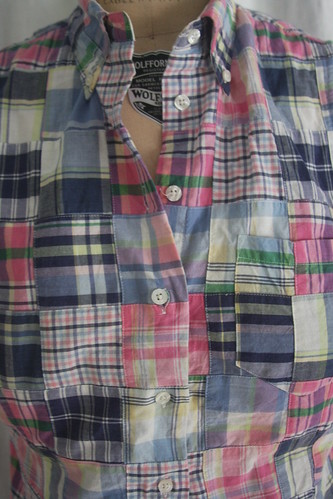
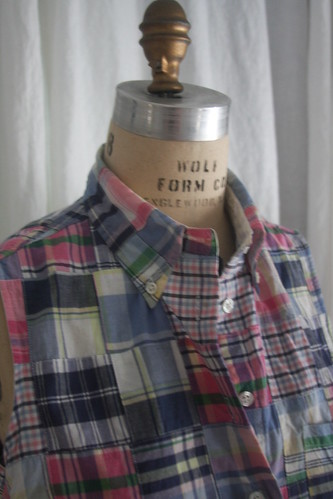
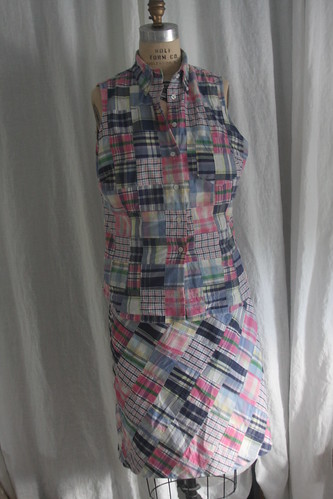
Don't laugh, but I have always wanted Madras pieces for summer.  In the end being swaddled in cotton is very comfortable and cool.  When I saw this on the racks of my local thrift store I couldn't resist, partly because of the thoughtful details.

The plaid matching at the center front
IMG_8627

The armholes finished with white bias tape
IMG_8626

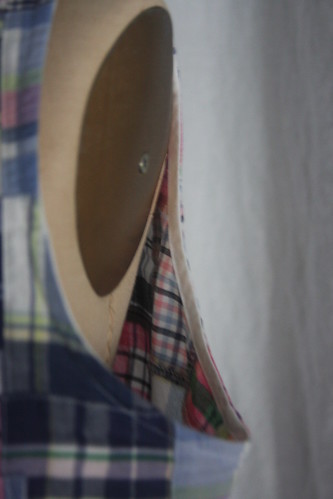
The contrast inside collar with button down detail
IMG_8625

The bias cut skirt (which is lined in a white cotton with an invisible zipper)
IMG_8622

Sorry for the fuzzy pics, it's getting late here and the light was not the best.
Tomorrow... the seersucker jacket.

Sunday, June 23, 2013

Lessons learned this week.....Prewash knits

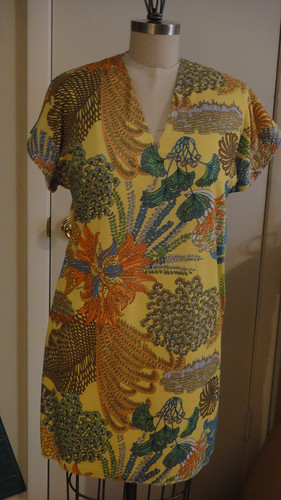
Preshrink your fabrics if you intend to wash them even the knits.... remember the Escada print?

Before
100% cotton interlock
DSC02835

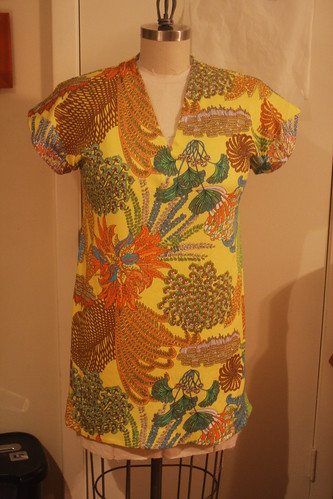
After
IMG_8592

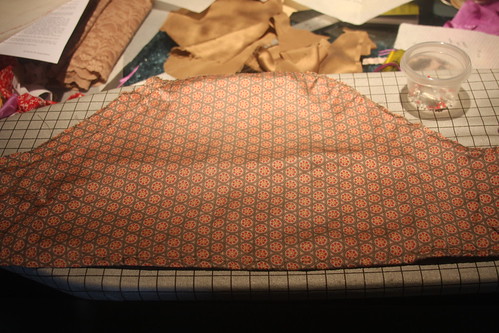
It shrunk 4", (can anyone else see the cage on the dressform?) so it is unwearable as a dress, could be a bathing suit cover up now, but I really like the print it will make a nice long t-shirt.  I just have to shorten the hem.  It's also more fitted now, but remember I cut it with this in mind, and the print hasn't faded a bit, which is more important, you know that piece that I chop off will not go to waste.

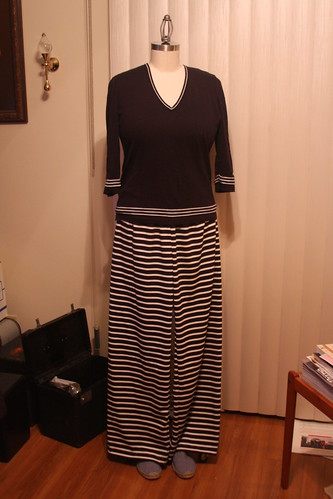
Also a great pair of navy striped ponte knit pants have shrunk about the same 4".   I can still wear them but I preferred them longer.
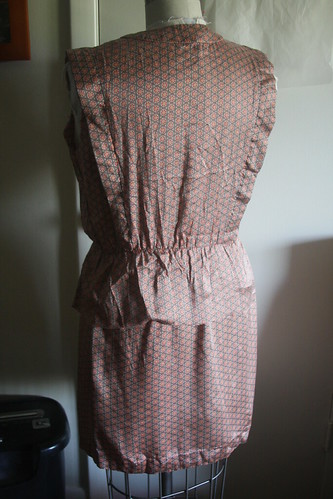
Rayon/Poly/Spandex Ponte Knit
McCalls 6571 pant


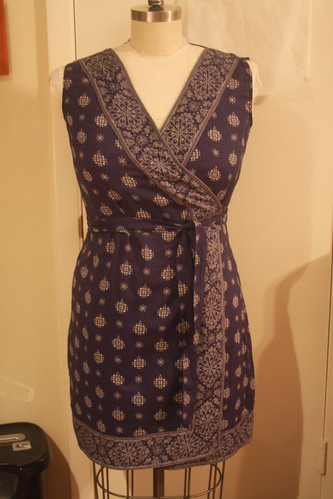
Also don't feel too badly for me, I found some lovely pieces at a nearby thrift store and after alterations they are FABULOUS (if not a bit preppy) those I'll show you all this week!!

Here is my first item...might have to make a few of these.
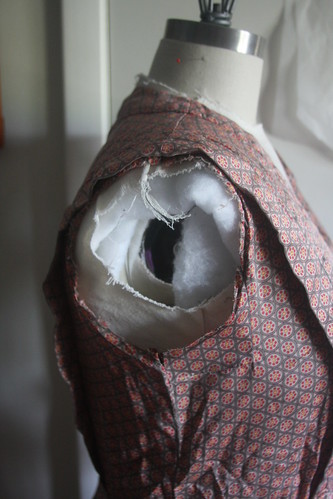
I had to raise the shoulders to get the wrap to sit at the right spot.

IMG_8591


Hope you are enjoying your Sunday.
Waiting for bra supplies has made me very productive.

Saturday, June 22, 2013

Cheating catches up with you.....The Strangled Hem

What a bother, what if I don't want to cut the selvage off?  No one will ever see it and it has such a nice finished edge.  What if I just want to roll the hem up and rehem it?  No one will ever see it.

Ah yeah, they will.  Remember this?
bad hem
She had already hemmed it once and determined that it was too long, so she flipped up the existing hem and rehemmed it, instead of unsewing the first hem and trimming, it gave us a hem that did not lay properly.  We have all done that, we've all tried to salvage handwork, but sometimes it's just the thing that ruins the other careful sewing we've done.  We need to just leave the project a bit and consider it practice, no matter how beautifully done it is, or how long it took us to do.

My prejudice said that it was the fabric and not mom's technique, but I would have been wrong.  For beginners this is one of those things, you don't understand why a hem isn't lying flat, or you just don't want to tackle yet another delicate trimming project on an already squirming fabric, or you don't have anyone to help you mark the hem.

Mom's hems were always perfect, as we can see here, she made invisible hems, when I was first starting out, they were legend.  A vintage technique, with hand overcasting, this garment was made with care and love.

IMG_8579

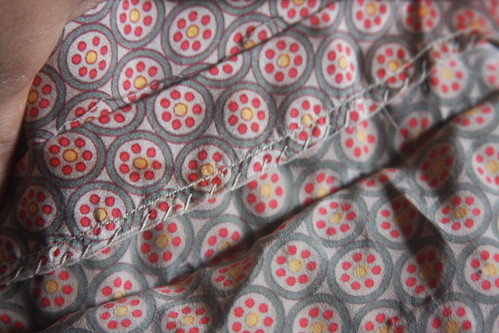
And this is not an easy stitch to master....you can see the invisible stitches from the backside.
IMG_8580

 and totally invisible from the right side.
IMG_8577

So now when they say silk gets marked when you press it, this is what they mean.
IMG_8582

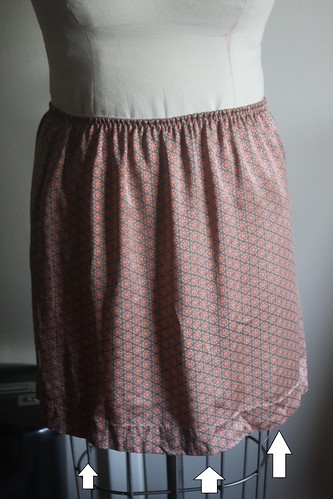
It might lighten the crease if I wet it and press it damp, but I need to rehem it because with that extra 1 1/2" it's too long for a slip, but it's looking pretty cute as a dress possibility now.  I'll try it on one more time to see how it looks, the snaps may have to go.

IMG_8583

IMG_8585

Ok, now we have a  nice slip length.  It wants to be a slip.

IMG_8586

With a much simpler hem finish, sorry mom, it's not invisible.
IMG_8589


Friday, June 21, 2013

What to do with that pile of recycling....

When my mother passed away, I gave most of her clothing to my aunt who is involved with the church.  There were a few pieces I kept that reminded me of her, those have been residing in a bin I like to call "recycling".  These are garments made in fabrics that I would like to use, but are not wearable as is.  Frankly, I had ear marked them for one gorgeous silk crazy quilt....  This was one of those garments.

I've pulled it out over and over again tried it on and really disliked how it looked on me.
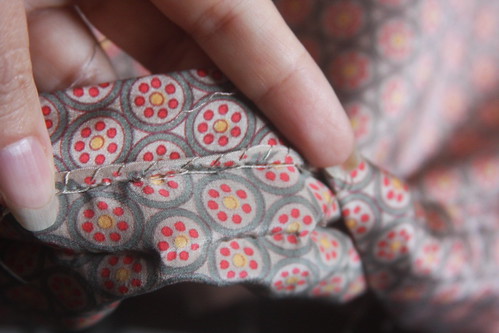
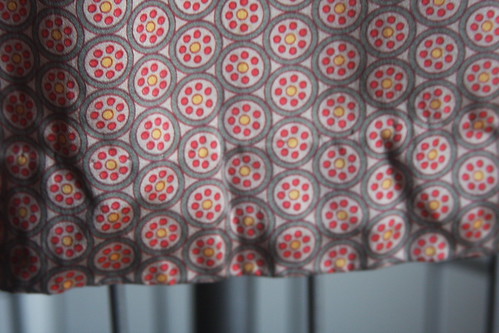
The waist pulls up, the skirt is too long, the sleeves are too puffy, and it had shoulder pads so not good for me.  In 2011, I found another cut of the same fabric, and threw caution to the wind and laundered the entire lot.  I'm pretty sure that mom had always dry cleaned it, and I try and keep that to a minimum.

fading

All of these experiments are an opportunity for learning.  Since, I could see that with repeated washing this print was going to continue to fade, I would be making something that took that into consideration.

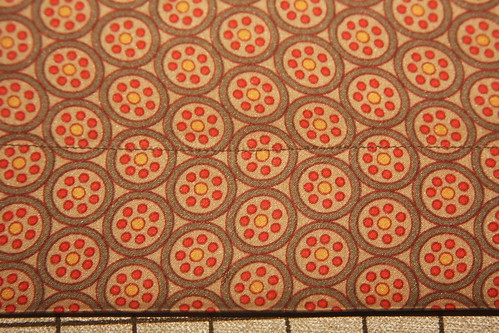
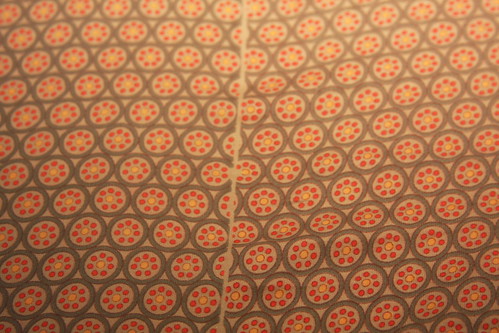
Then I looked at the other cut and noticed that this was a panel print, and the saturation level from one print to the next was inconsistent.  So just another detail to keep in mind when buying prints, not all panels are equal even in the same roll.  (look at the brown outline which is more pronounced on the right panel).

IMG_8576

So here's the first piece, since I'm in a lingerie kind of mind.

IMG_8569

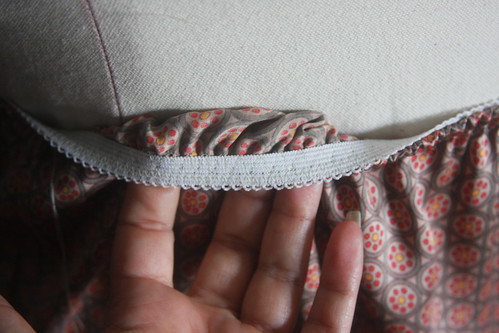
I may have to re hem it because it's looking a little lumpy.... I will iron it and see if that improves it, if not, it will be rehemmed.   This gave me an opportunity to use that multi step zig zag, to apply the elastic.

IMG_8570

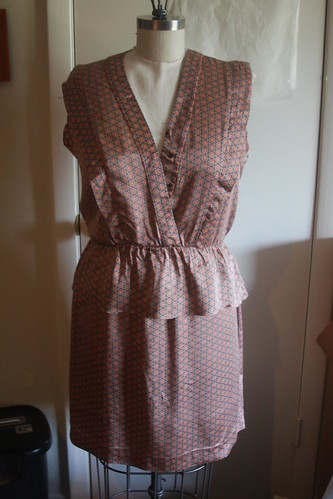
Just to get an idea of what it looked like as a dress (doesn't it look like it's been in a bin?)
IMG_8571

IMG_8575


No more sleeves
IMG_8572

Here they are...
IMG_8573

She even patched them....it feels like she's here!
IMG_8574

My first idea is to keep the top as is finishing off the armhole and hem, and use it as a top for pj's.  I might have enough fabric to do a pair of undies or pj shorts.  The fabric feels wonderful against the skin.  I love these kind of projects as they afford us the ability to look at garments like forensic scientists, and a visit from mom to boot.  Now where are my bra making supplies?

Monday, June 17, 2013

Revisiting the First Foundations Revealed Muslin and Tweaking the Fit

This is the one I didn't share, the very first one made with tricot cups.  The one I thought was a bad fabric choice.   I've been staring at it thinking about removing the straps and hook and eye closure before putting it away, I tried it on one more time, because sewing in the wee hours of the morning sometimes isn't the best time to judge fit.  With a bit of tweaking, it's not a bad attempt, and I may have some tricot cups in my future provided they are lined with something firmer because there's not a lot of support with them.

IMG_8563
This version has a wide bridge and the original underwire curve.  I thought it might be useful to show how I came up with the changes.

The Mystery 

The cups are too big (not really)
Deep folds in the cups, remind me of Maxine on Hallmark cards.

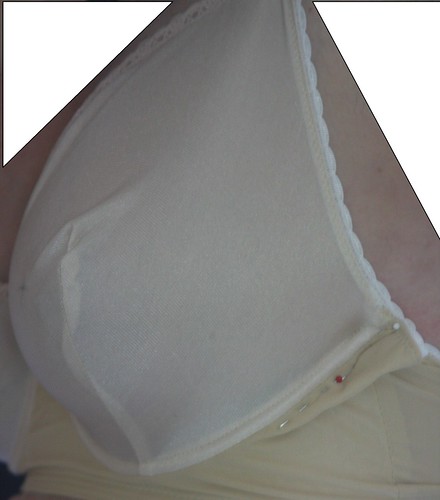
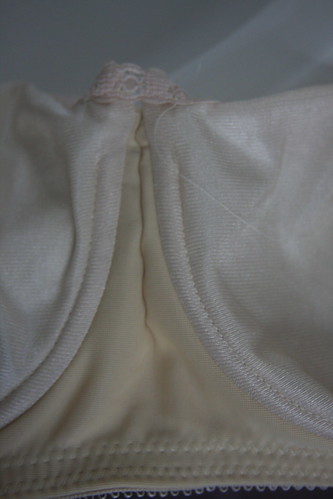
The bridge is too wide.  
How do you know that you ask?  because the wires are digging into the soft tissue on the front.

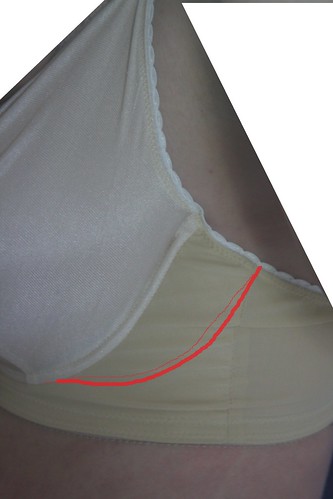
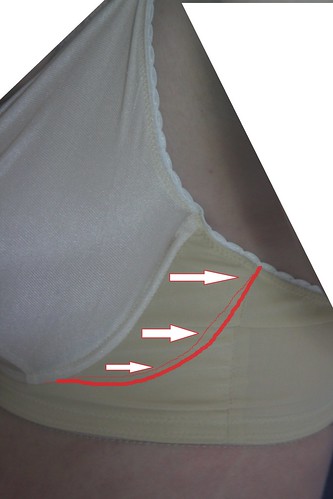
The curve of the underwire is too straight at the underarm
How do I know? because the wires are digging into the soft tissue under my arm.  It's no wonder I took this off almost immediately.

Really disappointing, now that calmer heads prevail....  Here's how I fixed it.

It's on now, doesn't look bad, the band is comfortable but I can't over look everything pinching at the front at the side, it's pretty bad, and the cups look... well sad really.  

So what is the problem?
underarm FR 1

If I peek under the band I can see that the inframammary fold is actually here.

underarm FR 2 - inframammary fold

So how do I fix this?  I know the underwire is the proper size.
underarm FR 2 - dart prep

Let's take up a dart...this feels better... lo and behold this fixes the cup problem, no more Maxine.
Dart

Let's take up the bridge... so much better, this is why no one likes underwires, when they doesn't fit properly, they poke you.  No poking please.
IMG_8564

Now we have the changes quantified in our darts we need to transfer the adjustments to the band pattern.
IMG_8563

Original band pattern
IMG_8568

Band pattern adjustments
transfer changes to pattern

The cup also has a funny little peak on it that will be smoothed out.
Once all of these changes are made, it's going to be a comfortable bra.... look for more updates later.