Decorative Stitches on the Pfaff 360 TOL 1960's
Since I'm pining for the decorative stitches on the modern machines, I thought I'd take a closer look at the ones my vintage Pfaff can do. After getting through the stitch pattern wheel, I'm beginning to understand what all the settings control.
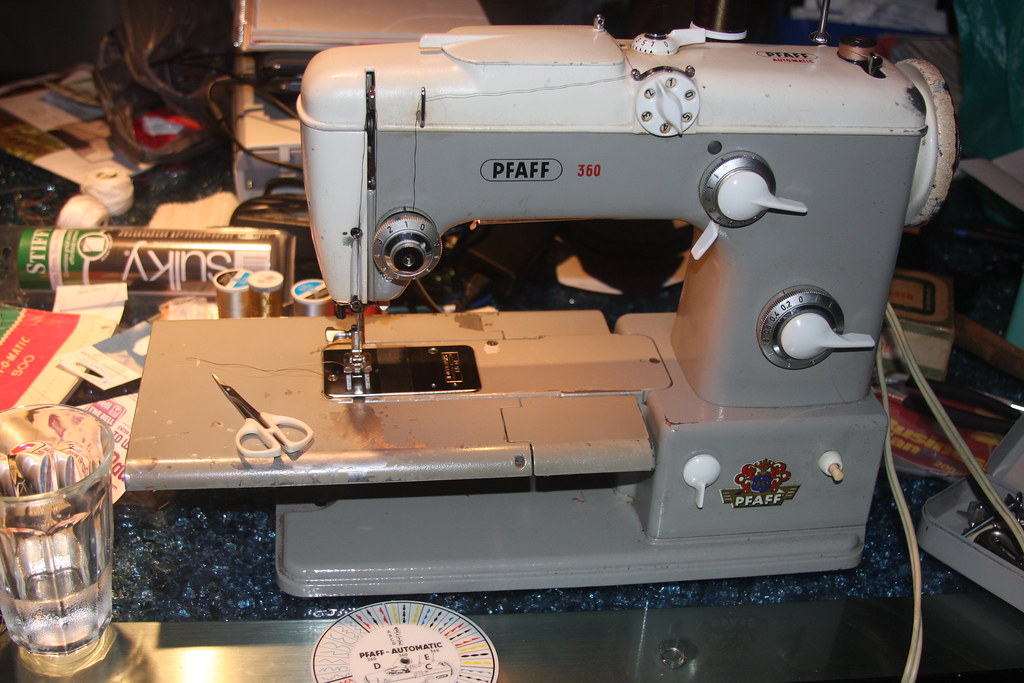
I know, the machine is not pretty but it's my first and there's an attachment here ;) In order to stitch out decorative stitches on this machine, there's a pattern wheel.
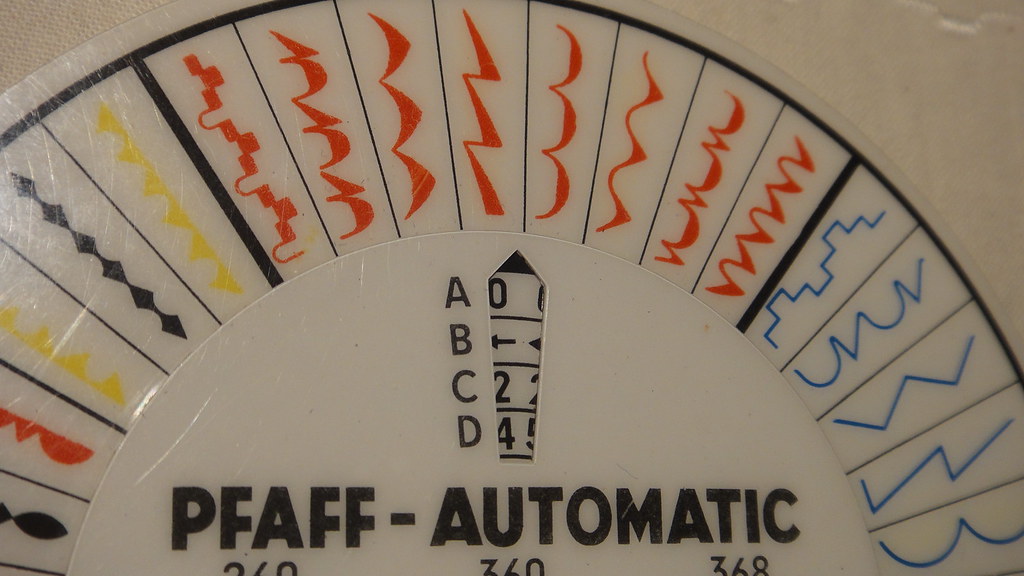
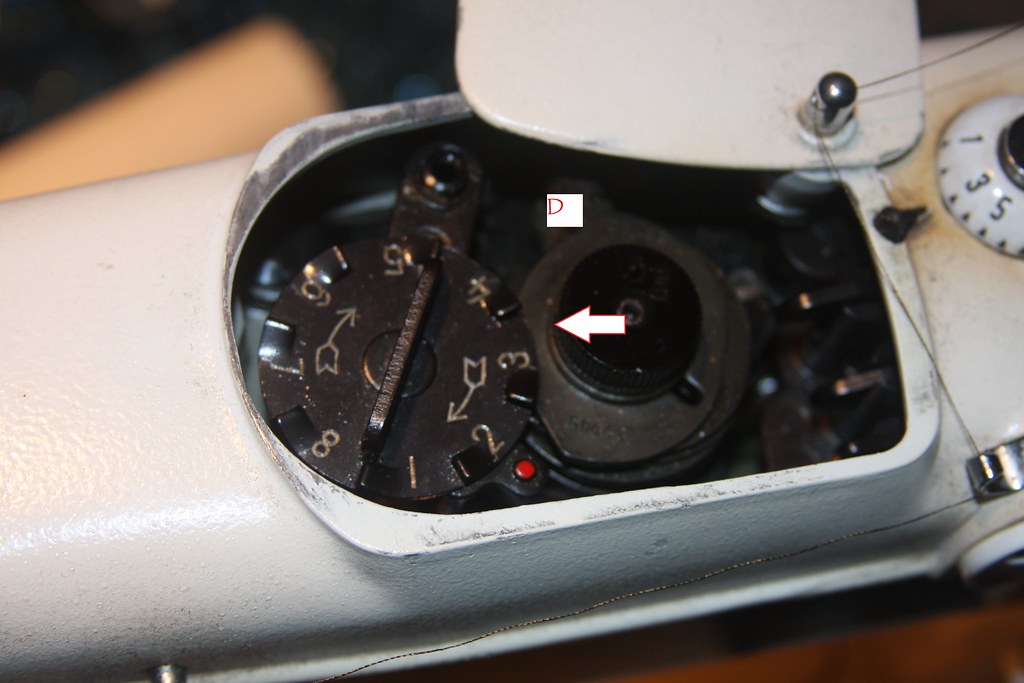
The pattern wheel tells you how to set the many levers and cams on the machines in a combination that will stitch out the pattern you select.
"A" - Is always set to 0 zero.
"B" - Is the needle position, which can be left, center or right, (the pic shows the left position)
"C" - Variation in the satin stitch
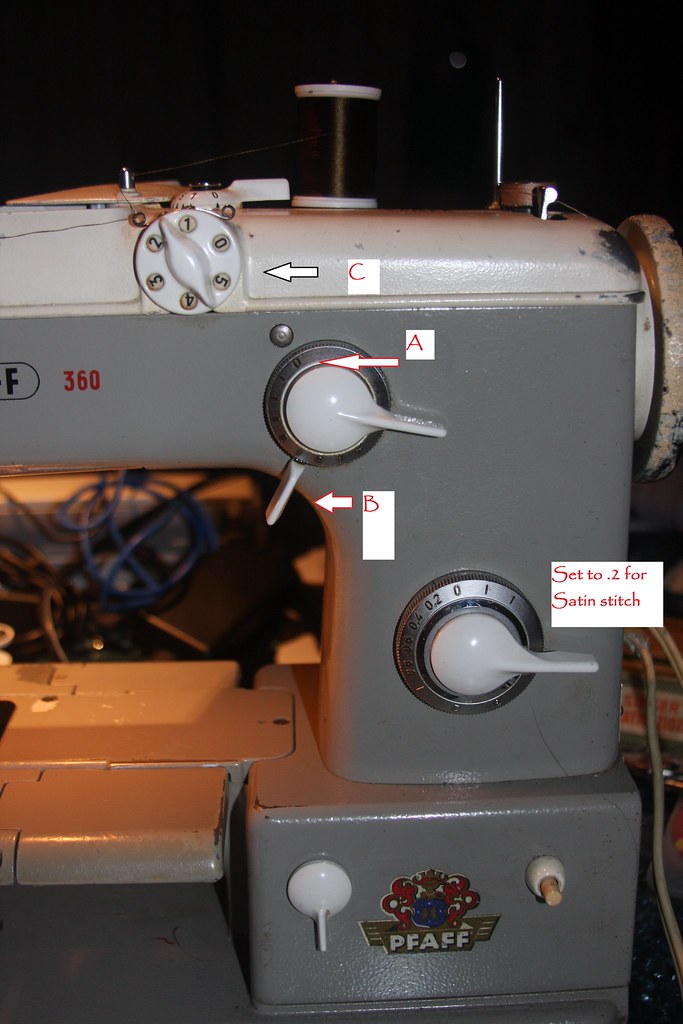
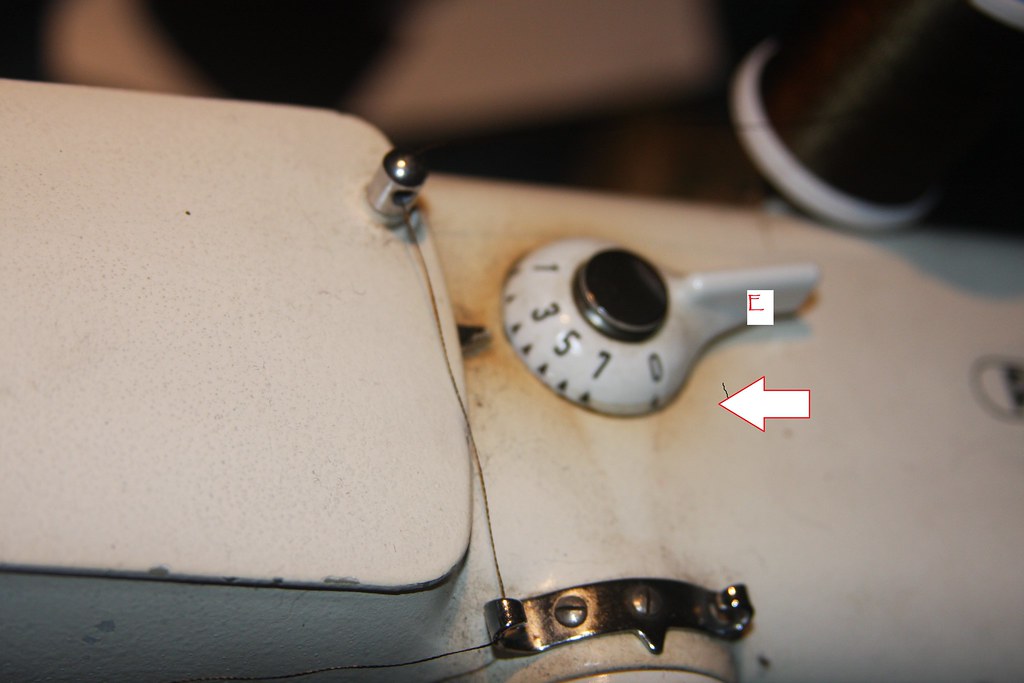
"E" controls the length of the stitch pattern (All of the patterns shown here were stitched with E set to 3)
"D" controls the cams and the overall shape of the design.
Moving from 8 through 1, with A at 0
Using a straight stitch design, these are the shapes in the cams.

If we set A at 1.5 we get the same shapes in a satin stitch.
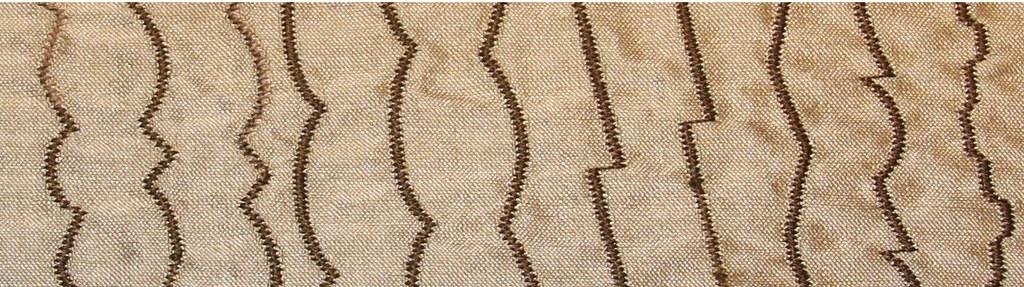
C gives us variation within the satin stitch,
changing the needle position B gives us a right or left (or mirror image) or center (balanced) orientation to the design, .

These can be used, as is, alone, or you can combine them for an embroidery design.
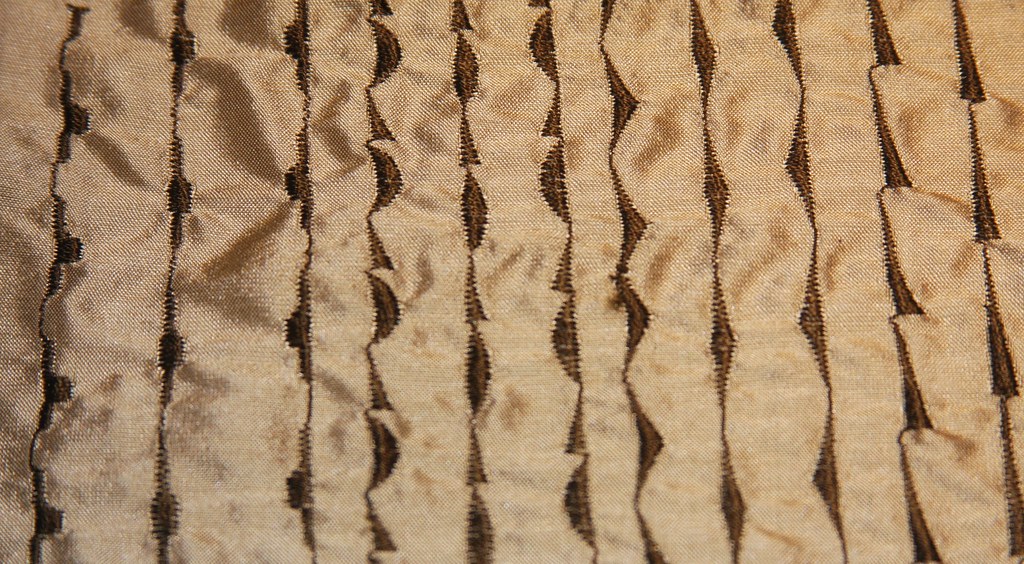
The challenge with combining them, is that the machine doesn't automatically start with the beginning of a motif. It sometimes starts mid motif.
The other challenge is that while the left and right needle position "should" give you a mirror image, mine does not (could be broken, or stuck somewhere in the cams). The left needle position on my machine yields a denser shorter pattern, then the right or center needle positions.
It will require more patience and knowledge of your own machine to get the stitch patterns to balance properly. So it would appear that balance in the decorative designs is a challenge with a vintage machine as well as the newer computerized machines.
Thread breaks are also a bit of a challenge as well, don't leave the top cover open as you embroider. It puts tension on the thread and you'll find yourself stopping to rethread and try to rescue the continuation of the design. So don't do this (below).
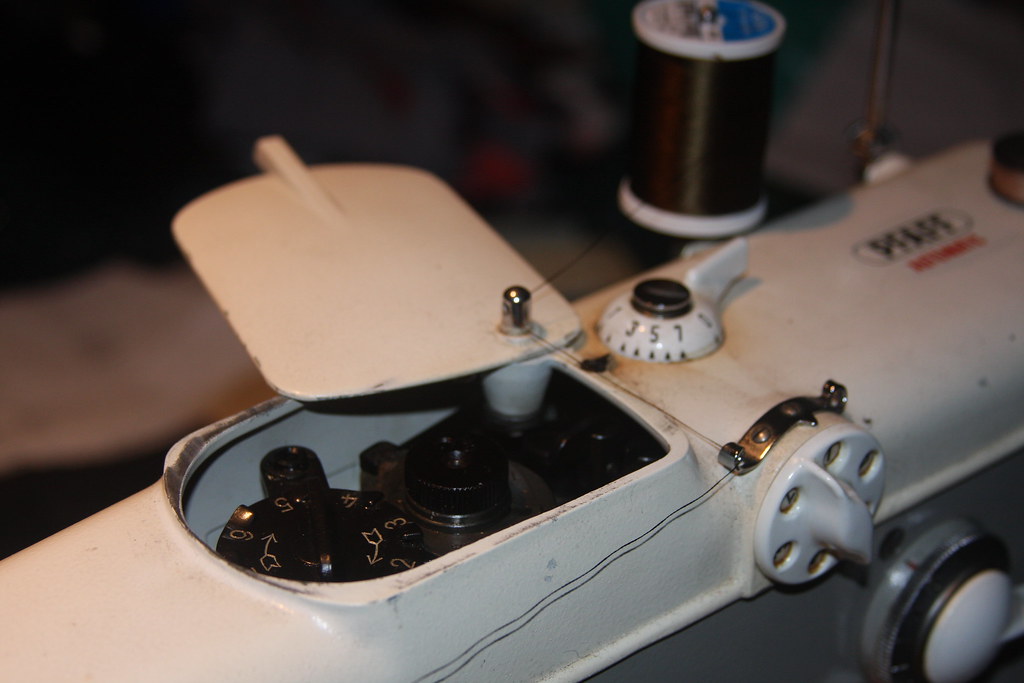
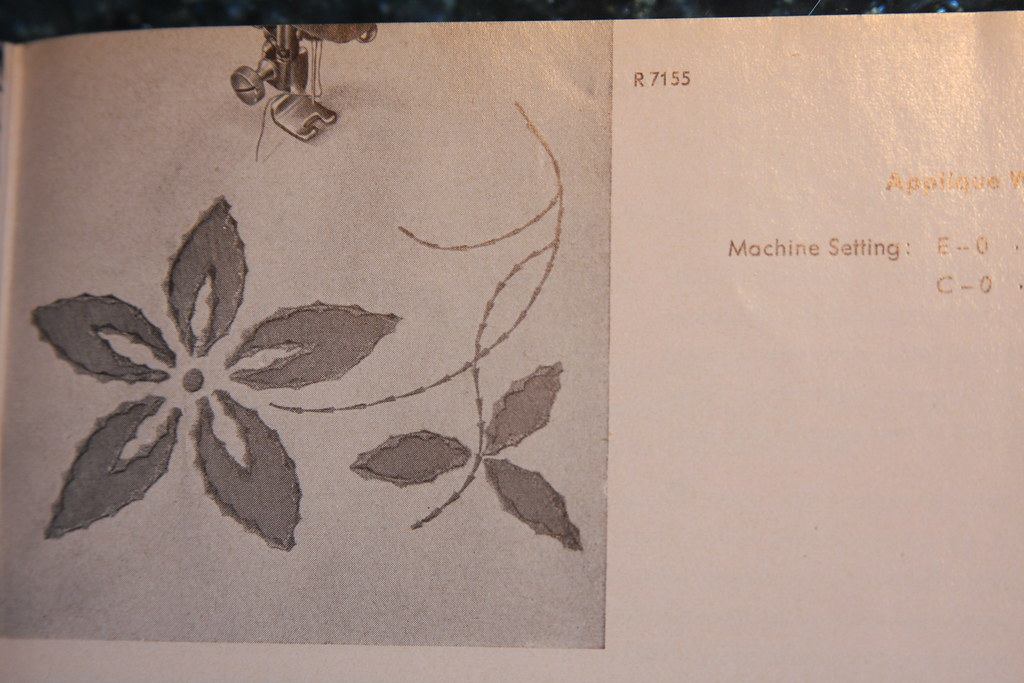
So what would you use these designs for? Embroidery, and applique work.
I know, the machine is not pretty but it's my first and there's an attachment here ;) In order to stitch out decorative stitches on this machine, there's a pattern wheel.
The pattern wheel tells you how to set the many levers and cams on the machines in a combination that will stitch out the pattern you select.
"A" - Is always set to 0 zero.
"B" - Is the needle position, which can be left, center or right, (the pic shows the left position)
"C" - Variation in the satin stitch
"E" controls the length of the stitch pattern (All of the patterns shown here were stitched with E set to 3)
"D" controls the cams and the overall shape of the design.
Moving from 8 through 1, with A at 0
Using a straight stitch design, these are the shapes in the cams.
If we set A at 1.5 we get the same shapes in a satin stitch.
C gives us variation within the satin stitch,
changing the needle position B gives us a right or left (or mirror image) or center (balanced) orientation to the design, .
These can be used, as is, alone, or you can combine them for an embroidery design.
The challenge with combining them, is that the machine doesn't automatically start with the beginning of a motif. It sometimes starts mid motif.
The other challenge is that while the left and right needle position "should" give you a mirror image, mine does not (could be broken, or stuck somewhere in the cams). The left needle position on my machine yields a denser shorter pattern, then the right or center needle positions.
It will require more patience and knowledge of your own machine to get the stitch patterns to balance properly. So it would appear that balance in the decorative designs is a challenge with a vintage machine as well as the newer computerized machines.
Thread breaks are also a bit of a challenge as well, don't leave the top cover open as you embroider. It puts tension on the thread and you'll find yourself stopping to rethread and try to rescue the continuation of the design. So don't do this (below).
So what would you use these designs for? Embroidery, and applique work.


Comments
I know this article dates a little but I'm searching desperatly for one of these stitching wheels for my old pfaff 360... Any chance you scanned yours??
Thanks in advance!
BTW your stitches are amazing!! :)
I'm so sorry, I sold the machine. They sometimes come up on Etsy or Ebay. If I see one, I'll let you know.
For those looking for a scanned image of the wheel.
https://drive.google.com/file/d/1J3TEK1HpF6BwpXzdoOIOUfyHVyfTQRaI/view
All credit to the original creator/poster, whose website is on the scan. A Croatian gentleman with exceptional knowledge of vintage Pfaff's and some fantastic Youtube videos on how to service them.