The Naomoto Cadillac of Irons HY-50 HY-58 Instructions for set up
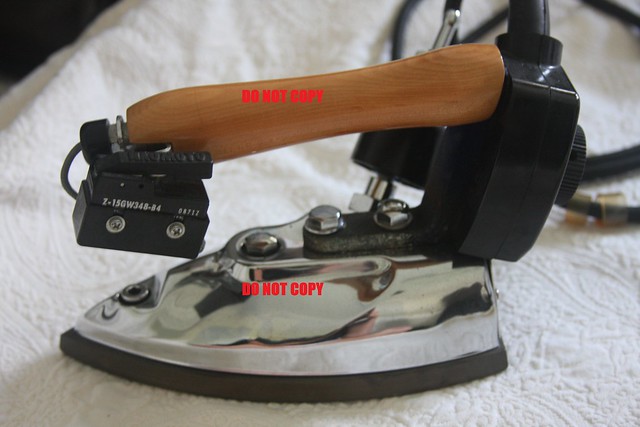
This iron was meant for commercial use, so I thought it might be fun to show you what all the fuss is about.
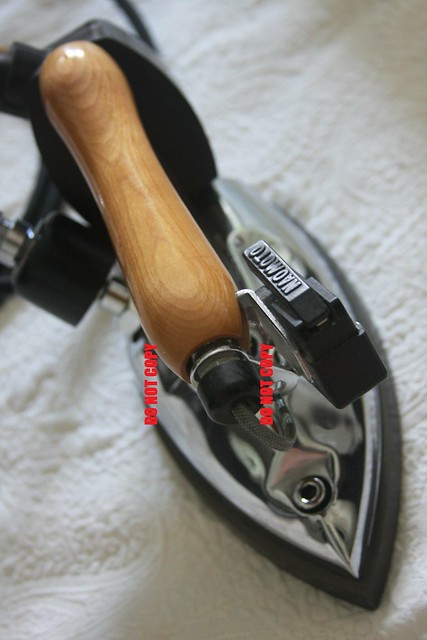
This is a vintage Naomoto, it is at least 30 years old. It still looks like it did when we first unpacked it. It required a little TLC along the way, but not a lot. There is a debate in the sewing community about these irons, as to what is better. Hands down this is better than most of the home irons available on the market but it does have it's drawbacks (discussed in the next post), but first let's show you how pretty it is what it is and what it comes with.
Something a little different this year..... you'll notice the "Do not copy" stamps across these pics. I've spent some time on ebay this month, and have found that there are a ton of fraudulent postings appearing in the sewing machine section. The badies are copying online photos and other ebay listings and using them as their own, to sucker some poor unsuspecting victim into sending them cash. So if you see a suspicious listing, Google the name of the item and check Images under the Google tab. If you see my images you'll know they are mine because of the stamp. Report the listing to ebay.
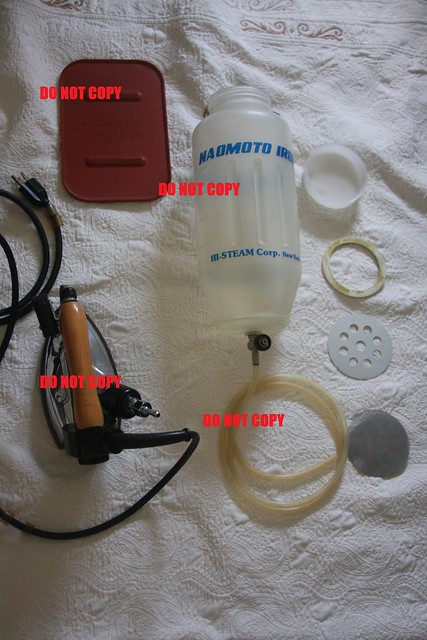
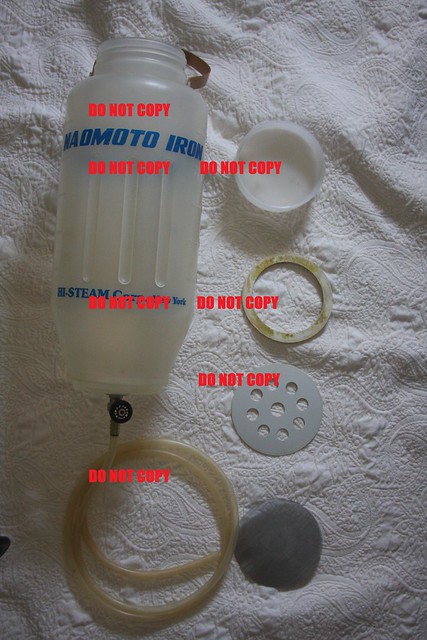
Here is everything that came with the iron (missing is the resin filter).
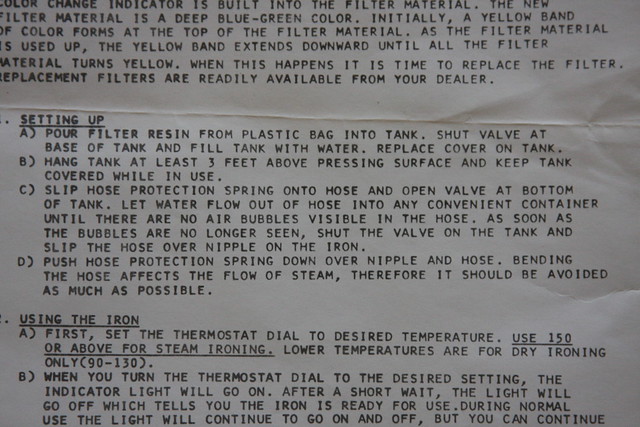
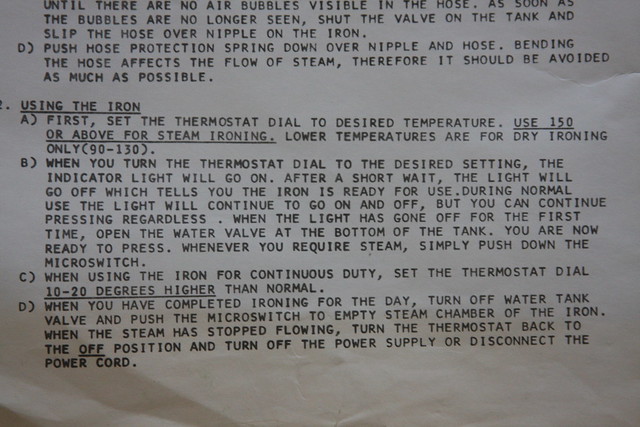
The instructions
The filter information
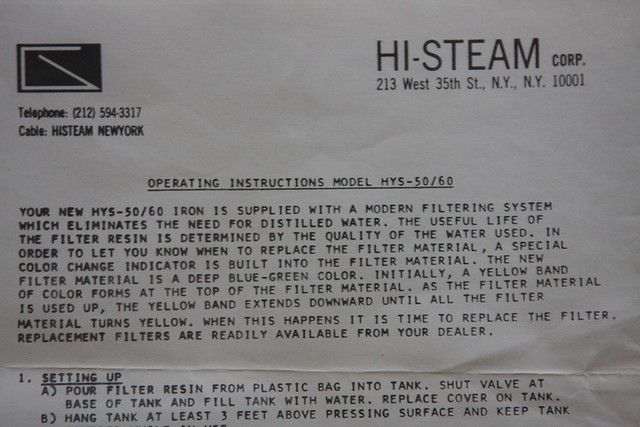
Poorly written instructions....
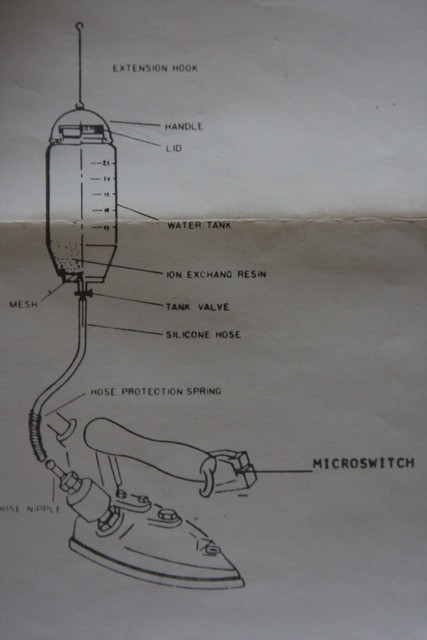
Because we aren't commercial operations, make sure you have a place to hang your tank, which will weigh as much as a gallon of water. A hook on a wall (fastened to a stud), some people use IV rolling stands, I used to slip it over a hanger and clip it on a wire closet shelf (not the best layout), later I clipped it onto my rolling steam machine.
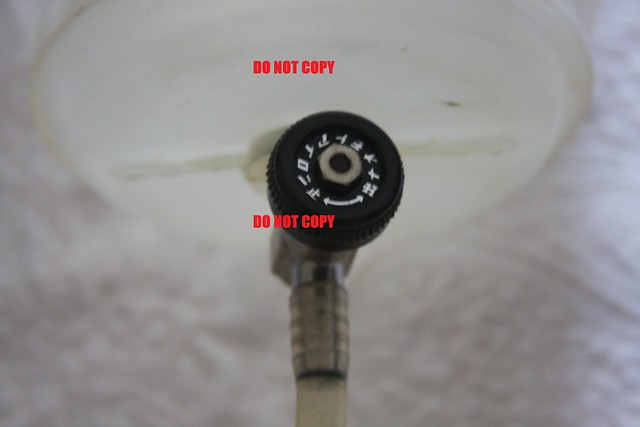
Shut valve should be second, on my unit it was right - closed, left - open (or righty tighty and lefty loosey).
Make sure that before you "Pour your filter resin from plastic bag" You have your mesh installed properly.
The tank
On the left - the tank and attached valve (which opens and closes)
The silicone hose
On the right from top to bottom
The screw on tank lid
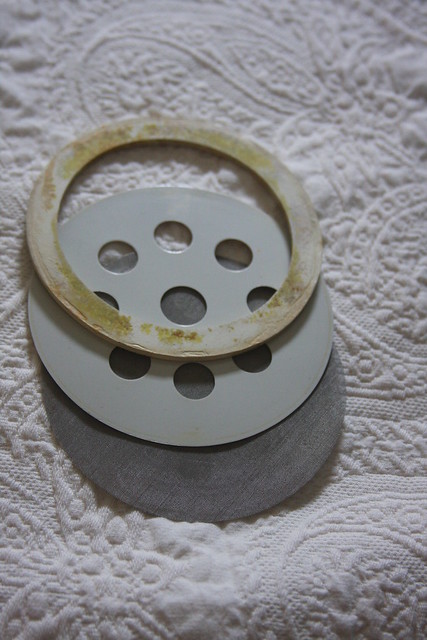
Gasket
Filter 1
Mesh
Install the Gasket, filter and mesh in this order
The mesh on the bottom, the filter on top and the gasket to hold all of it tight at the bottom of the tank.
Then you can pour your resin it.
When you pour your water in, be very careful and do it slowly.
If you dump it in quickly, you run the risk of dislodging the filter and the resin will makes it's way down the hose and eventually into the iron, which you don't want to do.
Before slipping the silicone tube over the nipple, you might want to slip it under the tubing on the electrical cord, if yours comes with this.
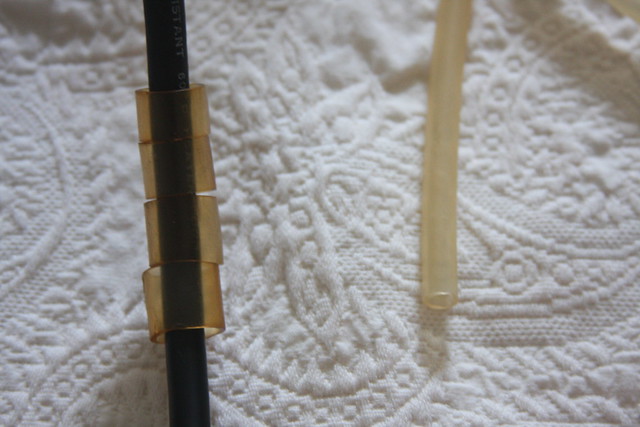
It keeps the water supply and cord together, so you're not dealing with two cords flopping around you as you iron.
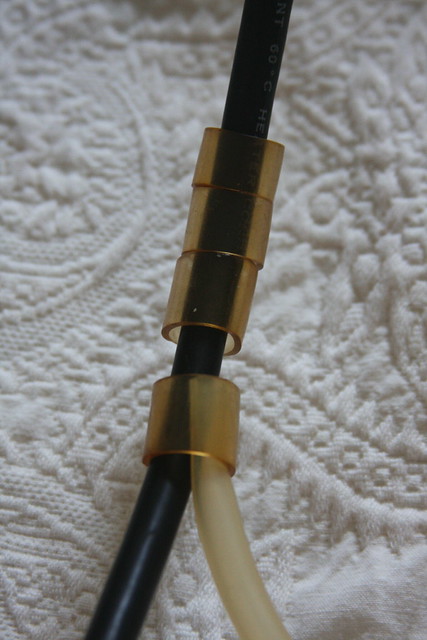
I don't think we received a wire nipple, or it was lost, but I just slipped the silicone hose over the nipple and it worked just fine.
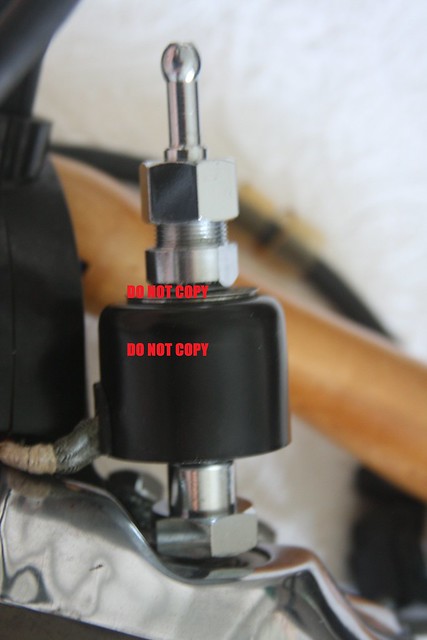
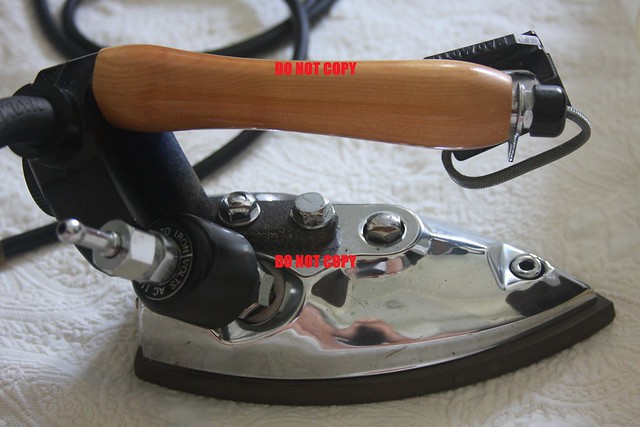
On to the iron.
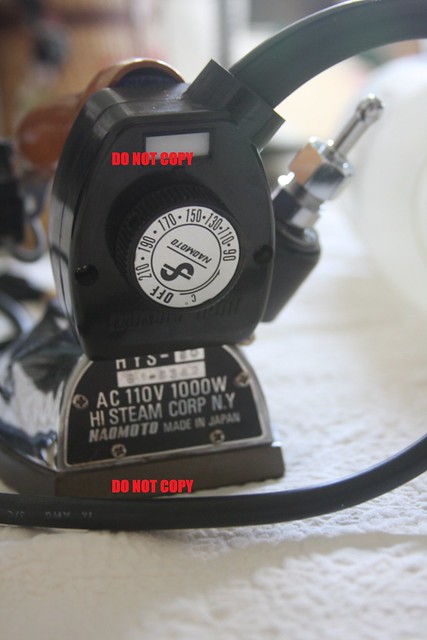
For Steam 150 degrees or higher.
Wait until the indicator light turns off, which signals it has reached temperature.
If you are impatient, you will end up with a bubbling leaking mess, and we want to avoid that.
If you set it for less than 150 degrees and hit the button, you will also get water instead of steam.
So it's a lot of work, what's so great about it?


Comments