Grading up Bra sizes Merckwaerdigh BHS10
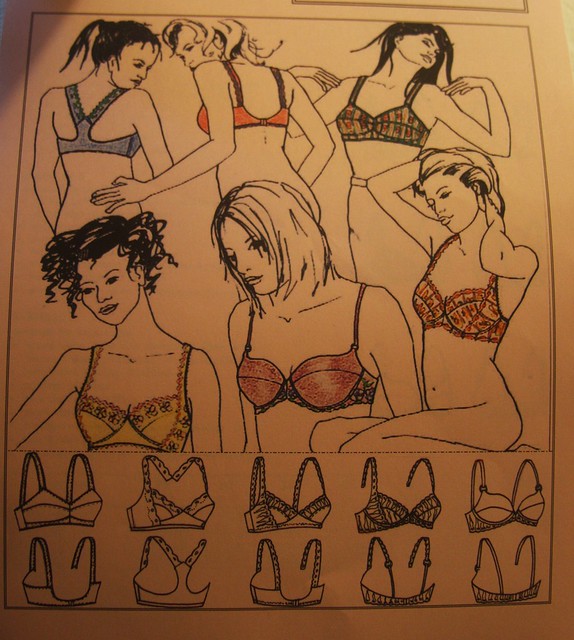
The Merckwaerdigh BHS10 don't let the illustrations discourage you, it's what's inside that counts. Now I know that there are other patterns out there that would have had the size I needed but this is what to do when the one in front of you is not your size.
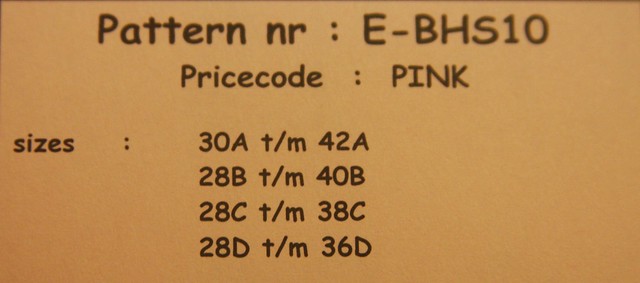
This pattern comes in sizing as follows.
OR
30A to 42A
28B to 40B
28C to 38C
28D to 36D
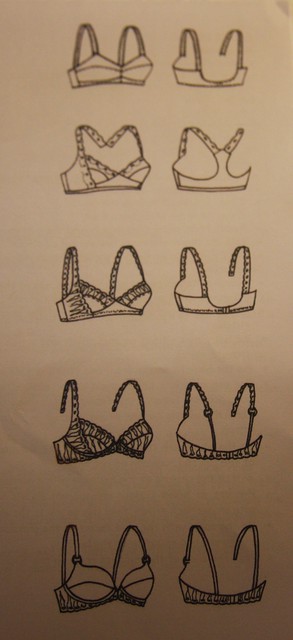
I liked the variety that this pattern offers, because sometimes, you want a racer back, or a non underwire, or underwire, 3 piece cup or 2. I started with the first view, 2 piece cup, no underwire. This was a test to make sure that the grading worked. The pattern was bumped up 2 sizes.
When the pattern is nested sizing, it's easier to grade up, since the nesting gives you the information on the grade. It's easy to see where the next size would be.
Place a piece of tracing paper over the pattern. Draw a line through the corners of the pattern piece.

Measure the distance between the last two sizes
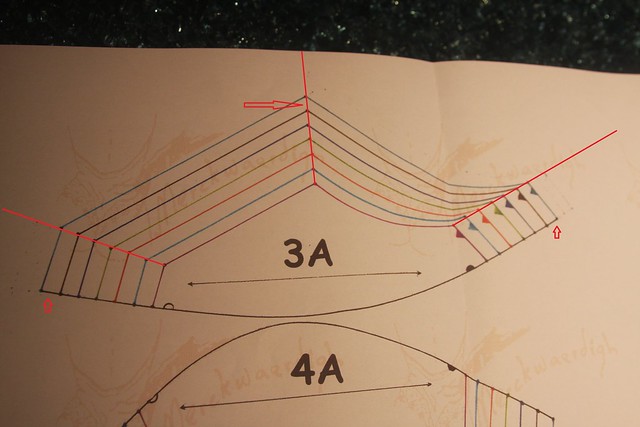
Use that distance and draw parallel lines along the straight edges
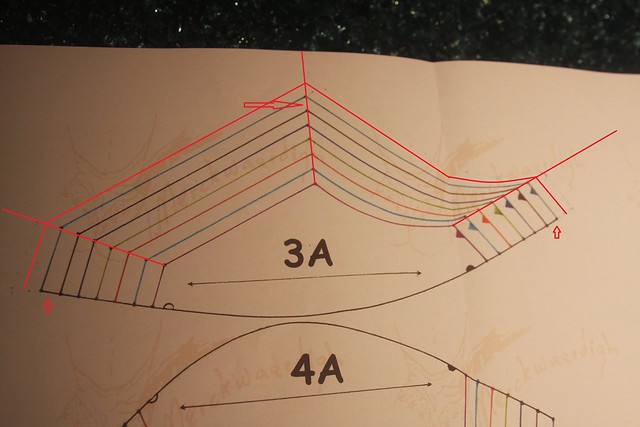
Extend the curve at the bottom to meet the new grade.

Remember to mark notches.
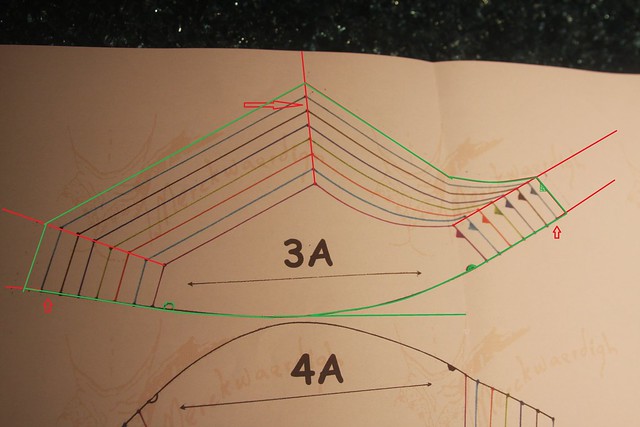
The green outline would be your new pattern piece.
There are some curved areas and these are a bit trickier but if you follow the previous curves to the best of your ability you will come very close to your new size.
After you've done this on all of your pieces, lay the pattern pieces out and check to make sure that the pieces will fit together.
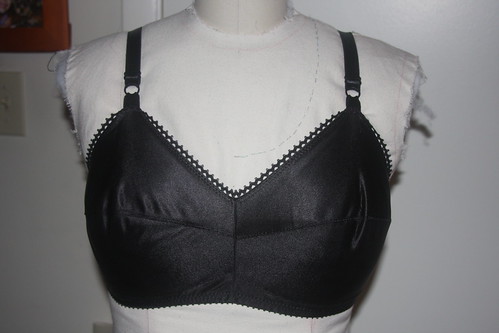
This is what view A looks like, I know it's a little prison matron chic because of the fabric selection but it is a muslin after all.
One last thing about grading, it's much easier to grade one or two sizes, vs, 4 or 5 sizes, so try and get as close to your size as possible to minimize the work done at the muslin stage.


Comments
If you didn't see the post that followed, the grading didn't work for me. This style bra is very shallow in the under cup.