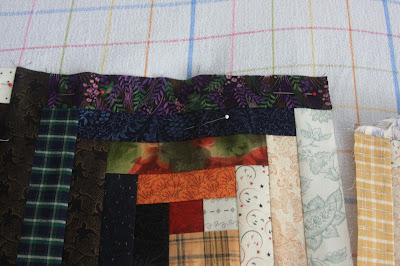
Assembling the log cabin.....
Here we are, still playing a bit with the layout. The one thing I learned with the first quilt I made was that I didn't have a system for assembling the blocks in the exact order I had laid them out. It was upsetting, and I just let it go. I mean, it's still a cute quilt, it just wasn't as scrappy as it was in the original layout. This time, I'm not going to rush it, I'm going to go one block at a time.
As a precaution, I placed a pin in the second strip to indicate the top, and just took two blocks, joined them, and came back for the next block. I joined the shortest number of blocks, and then I will join the short strips together. Thinking it will be easier to align 6 blocks vs 7 blocks.
Not unhappy with the way the seam allowances have been pressed. The block backs look good (not so much on my very first quilt), the bulky seam intersections have been reduced. All of the seam allowances have been pressed away from the center.
Here we are, almost finished, the first five columns have been joined, two more to go.
And if you are wondering what my design wall is... it's a yarn dyed queen flannel flat sheet, thrown over the top of a wall unit. I have no walls, so this will have to be my solution for now.
It is held in place at the top with 3 soft dive belt weights, they are 4 lbs each, and I will be looking to add another 2 just to make sure it will stay..


Comments